Nik Viveza is a tool designed to rework colors and tones (luminosity and contrast) of your images. Both globally and locally.
These let you enliven or attenuate the colors by altering the hue, saturation, and luminosity; you can also modify the contrast and micro-contrast of your images.
IMPORTANT
This page presents Nik Viveza’s specific features and tools. All the tools common to the other Nik Collection plug-ins are presented in the Interface and common tools page of this user guide. Here you’ll find information on the following points:
- Preferences.
- Interface.
- Categories, filters and presets management.
- Local adjustments.
Some of the Viveza tools are also available as filters in Nik Color Efex:
- Global adjustments.
- Selective tone.
- White balance.
When image opens
When you open an image in Nik Viveza, it appears as it is in the host app, or as it is on the hard disk if you are using standalone mode. No corrections, filters, or presets are applied at this stage and all sliders in the right panel are set to 0, by default.
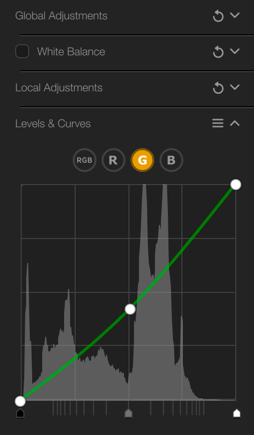
Nik Viveza Presets
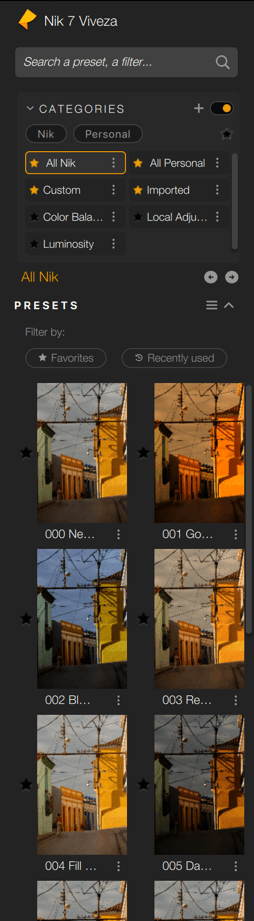
In the left panel, Nik Viveza offers 14 different settings as follows:
- All Nik: if you click this button, the Presets section will display thumbnails of all available settings, for you to scroll through.
- Color Balance.
- Luminosity.
- Local adjustments.
- All Personal, Custom and Imported categories contain your personal presets.
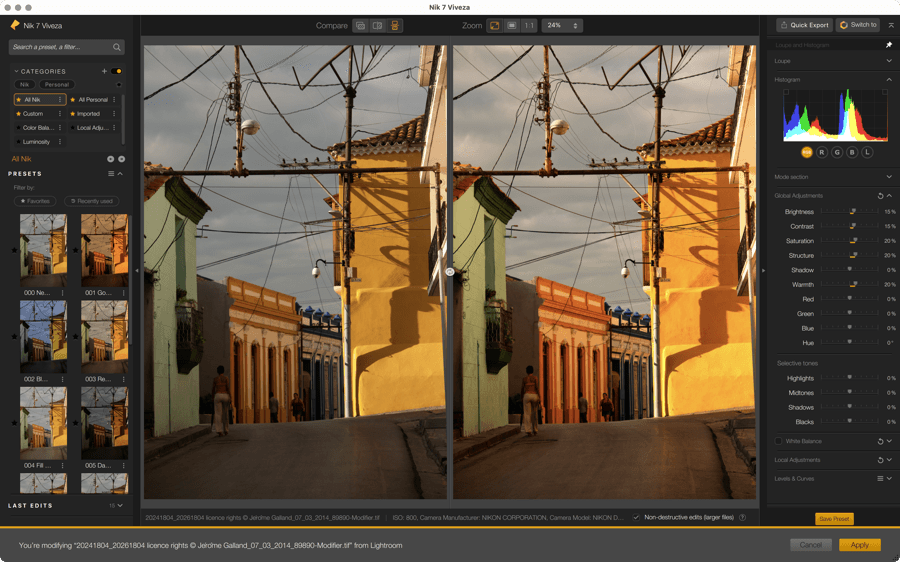
Global and local adjustment tools
Nik Viveza permanently displays all available tools in the right panel, with each setting depending on the effect you have selected in the left panel.
In this section you will find a description of all of these tools, both for overall correction of images as well as local adjustments using control point, line, polygon and luminosity mask:
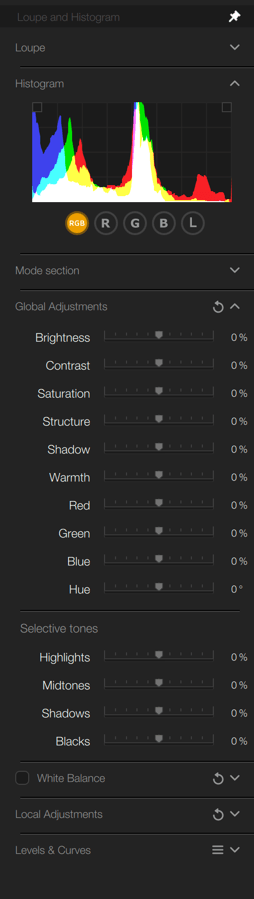
- Loupe.
- Histogram
- Global adjustments: global tone and color correction sliders, and selective tone sliders
- Selective tones: sliders affecting brightness ranges.
- Levels & Curves: advanced correction and adjustment tools for brightness and contrast
- Local adjustments: creation and management of local adjustments. Activating them displays sliders equivalent to global settings, selective tonality, as well as a color picker and color selectivity sliders.
- Levels and curves: Advanced brightness and contrast adjustment tools.
- Save preset button: allows saving the settings as presets
Overview
The different sections function are as follows:
- All sliders have a default setting of 0%.
- Sliders affecting brightness and tonality go from dark on the left to brighter on the right.
- Sliders affecting colour and effects are less intense to the left and more intense to the right.
- To reset a slider to its default value, double-click on it.
Global Adjustments
Nik Viveza’s Global Adjustments provide all the tools for the basic tonal and color corrections. The section is divided into two sub-sections:
- Global Adjustments: correction of brightness, color contrast and structure effect (detail enhancement).
- Selective tones: brightness correction by tonal ranges (light tones, medium tones, shadows, blacks).
The sliders are set to 0% by default, and to reset a slider, simply double-click it. To reset all the corrections, click on the curved arrow at the top right.
The global sliders described below affect the whole image, the same sliders appear in the local adjustments section as soon as a local adjustment tool is created and affixed to the image.
- Brightness*: adjusts the brightness, darker on the left, lighter on the right.
- Contrast: adjusts the contrast — that is, the difference in luminosity between the dark and light parts of the image. Towards the left, the image will be flatter and less saturated, towards the right, the image will be more punchy and more saturated.
- Saturation: acts on the brilliance of the colors, more vivid towards the right, and less and less saturated towards the left, until obtaining a completely gray image.
- Structure: reinforces the details and gives more spiciness to the image. Set to the left, the slider softens the details.
- Shadows: adjusts the brightness of dark areas in the image.
- Warmth: set to the left, cools the colors (towards blue), set to the right, warms the colors (towards yellow/orange).
- Red: lets you mitigate a dominant color (more cyan on the left, more red on the right).
- Green: lets you mitigate a dominant color (more magenta on the left, more green on the right).
- Blue: lets you mitigate a dominant color (more yellow on the left, more blue on the right).
- Hue: shifts the set of colors towards their opposing hues (for example, the blue of the sky turns magenta to the right, or green to the left).
Selective tones sliders
- Highlights: moved to the left, this slider recovers information and details in the brightest parts of the image, especially those close to the clipping (right end of the histogram). Moved to the right, it allows you to give more brightness to the lightest tones.
- Midtones: this slider affects the midtones (shown in the central section of the histogram).
- Shadows: this slider allows you to lighten the shadows and dark parts of an image.
- Blacks: moving the slider to the right lets you set the “black point” (left end of the histogram) and thus avoid clipping the darkest parts of the image. Conversely, moving the slider to the left, you will make the darkest areas of the image even more dense.
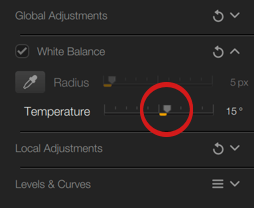
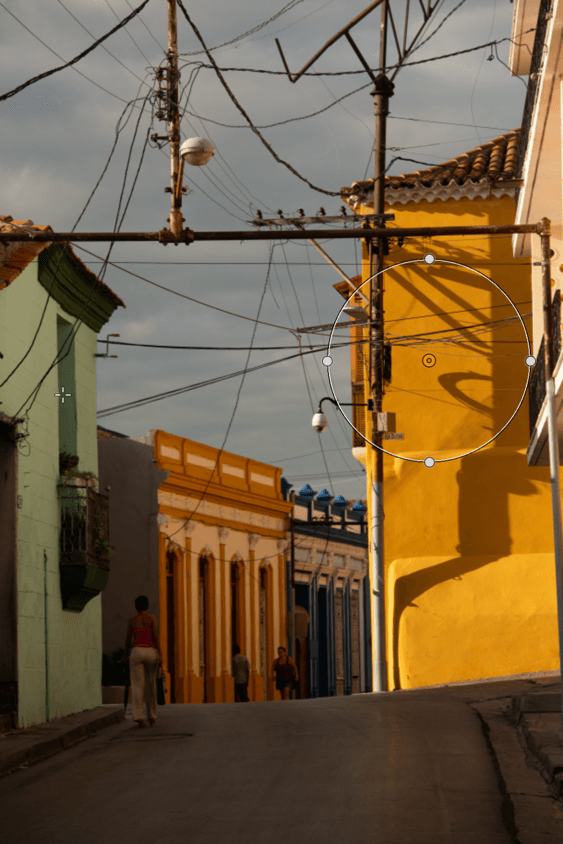
White Balance
The White Balance tool allows you to restore natural, balanced colors and compensate for the presence of colored dominants. Of course, you can also take advantage of it to create special effects and renderings:
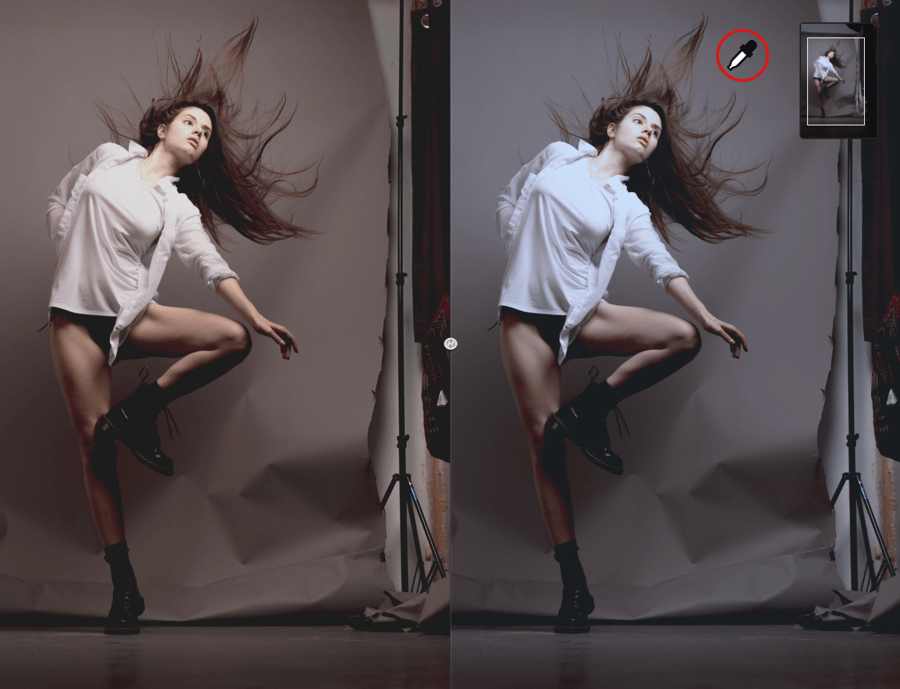
- In the White Balance, click the pipette to activate it.
- Move the mouse pointer over the image and it will turn into an eyedropper.
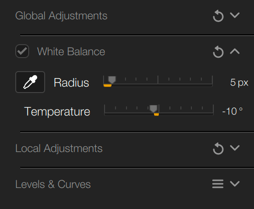
- You can adjust the diameter of the sampling area (shown by the circle at the end of the dropper) using the Radius slider. The default diameter is 5 pixels, on a scale from 1 to 50 pixels.
- To neutralize a dominant, click on a neutral area of the image, white or gray.
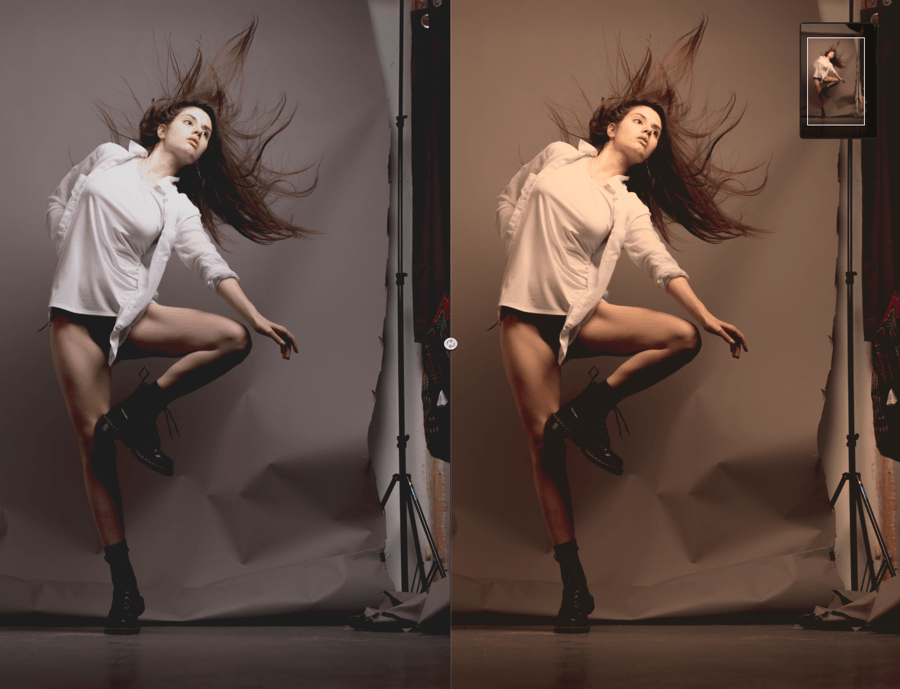
- To introduce a dominant, click on the desired neutral color (for example, click on a blue to warm up the image, click on a yellow, orange or red to cool it down).
- You can change the white balance as many times as you wish by clicking repeatedly in the image.
Change or fine-tune white balance
Whether you want to neutralize a color cast or alter the warmth of the image, you can fine-tune the white balance using the Temperature slider. Set to 0 by default, its scale ranges from -100 to +100.
Reset and compare
You can reset the white balance and compare it to the image opened in Nik Viveza :
- Reset the temperature: double-click the Temperature slider.
- To reset the white balance: Click the curved arrow in the White Balance section in the right panel.
- Quickly compare after/before: click in the box to the left of the White Balance heading.
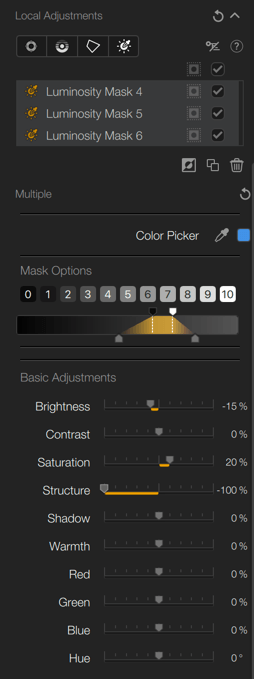
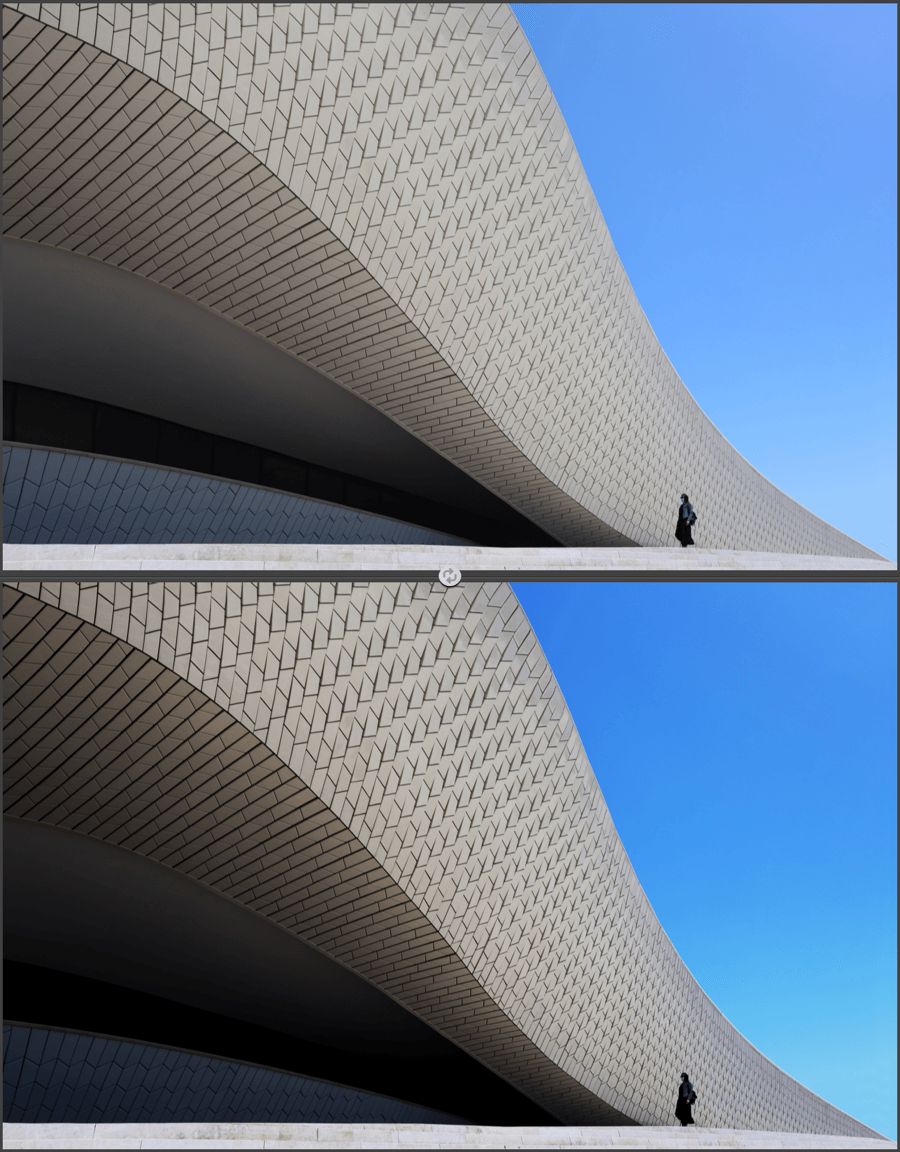
Local adjustments
Local adjustments allow you to change only certain parts of the image. The sliders attached to the local adjustments tool dots, are organized this way:
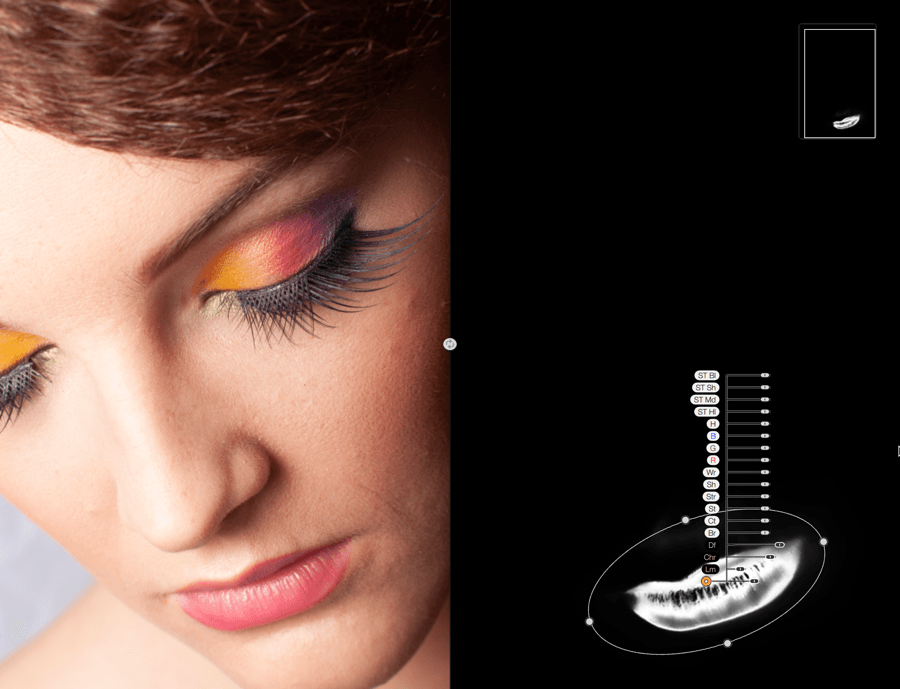
The sliders are organized this way
- Color Selectivity :
- Lm (Luminance).
- Chr (Chrominance).
- Df (Diffusion).
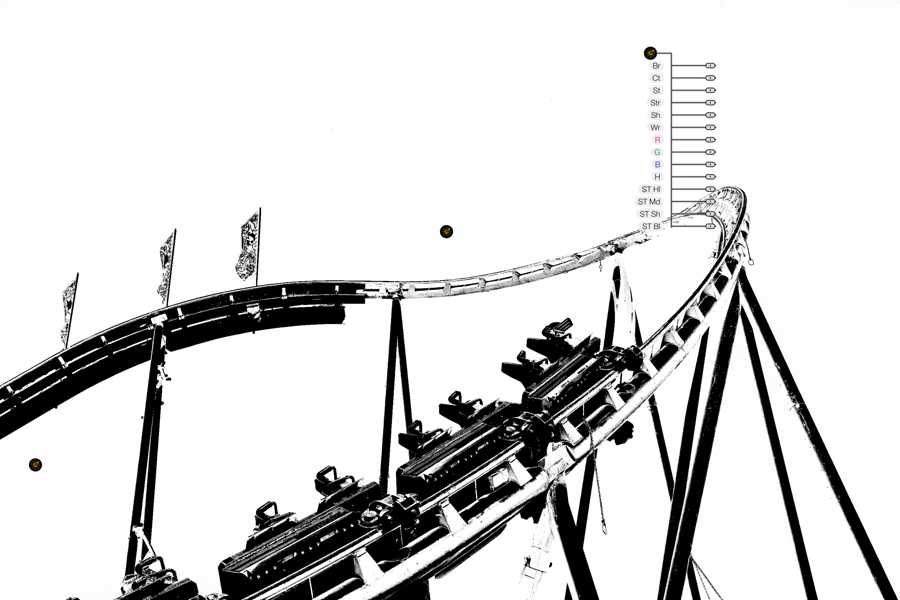
- Standard adjustments sliders:
- Br (Brightness).
- Ct (Contrast).
- St (Saturation).
- Str (Strucuture).
- Sh (Shadows).
- Wr (Warmth).
- R (Red)
- G (Green).
- B (Blue).
- H (Hue).
- Selective Tones :
- ST HI (Highlights).
- ST Md (Midtones).
- ST Sh (Shadows).
- ST Bl (Blacks).
Sampling pipette and color picker

Sampling eyedropper
Active only with the local adjustments, the eyedropper allows you to pick a hue from the image and apply it to the active local adjustment. For example, if the local adjustment is set to blue sky and you pick a green from the vegetation, the local adjustment will apply that hue to that location in the image. The picked color appears in the color picker box to the right of the dropper.
Once you have picked the color, the local adjustments sliders will display settings that you can change as you wish.
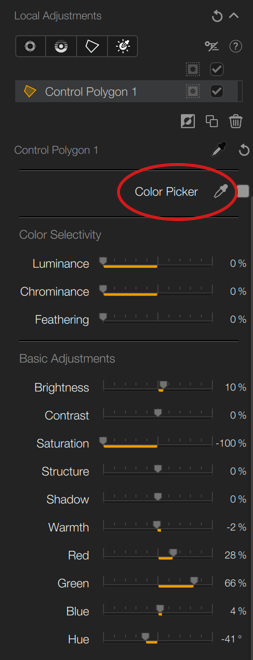
Color picker
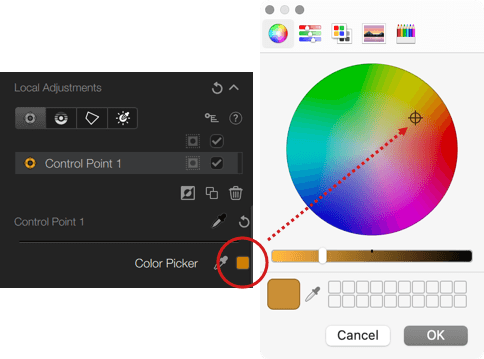
You can also click on the tile to the right of the dropper, provided that a local adjustment is active (by default, the tile is gray). This will open the color picker of the operating system, where you can choose a color that will be immediately applied to the active local adjustment.
Again, you can use the local adjustments sliders to adjust the chosen color.
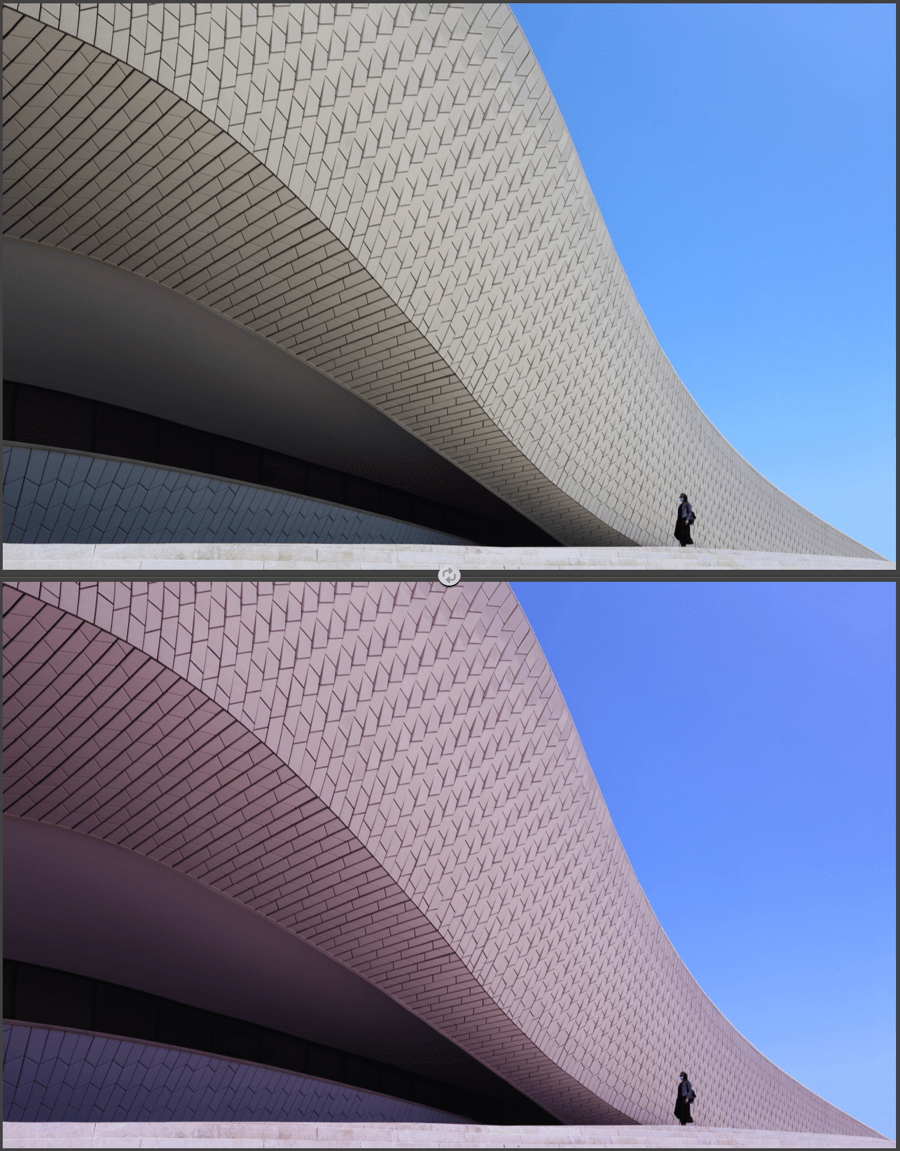
Levels & Curves
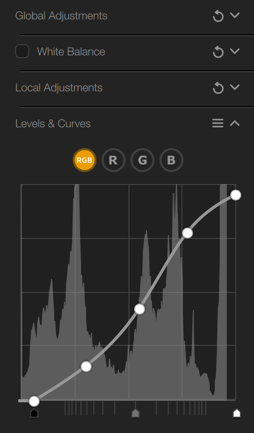
The Curve lets you fine tune or completely rework the contrast of your image, by altering the curve either globally or by using the RGB channels and the Level sliders:
The curve also lets you alter the colors by modifying them or compensating for a dominant.
It is composed of the following items:
- RGB button: this is selected by default and is used to adjust the brightness and contrast of your image without altering the colors. The histogram represents the 3 RGB channels combined, and the curve is white.
- The R, G, and B buttons: let you adjust the brightness of the Red, Green or Blue channels, to attenuate or reinforce their respective dominance. The histogram represents the selected channel and the curve takes the color of the chosen channel (red, green, or blue curve).
- Curve: click on the curve and hold down the left mouse button to adjust it. You can add anchor points to the curve, which lets you lock the contrast settings to specific points on the curve, and therefore on the image. To remove an anchor point, double-click it.
- Levels sliders: Move the Shadows (left), Midtones (center), or Highlight (right) sliders to adjust their respective ranges.
- Reset: The double arrow at the top of the Levels and Curves section opens a pop-up menu where you can reset the settings of the active channel, or all applied settings.