

System Requirements and Setup
Microsoft Windows
Minimum system requirements
- Intel® Core™ or AMD Ryzen™ with 4 cores
- 8 GB RAM
- 10 GB available disk space
- 1280 x 768 display
- Microsoft® Windows® 10 or 11 version 22H2 (64-bit)
Recommended system configuration
- Intel® Core™ or AMD Ryzen™ with 8 cores
- 16 GB RAM
- 50 GB available disk space
- 1920 x 1080 display
- Microsoft® Windows® 11 version 24H2 (64-bit)
Apple macOS
Minimum system configuration
- Any CPU
- 8 GB RAM
- 10 GB available disk space
- 1280 x 768 display
- macOS 14 (Sonoma)
Recommended system configuration
- M1
- 16 GB RAM
- 50 GB available disk space
- 1920 x 1080 display
- macOS 15 (Sequoia)
Compatible Host Applications
- DxO PhotoLab 7 or 8
- Adobe®️ Photoshop®️ 2024 or 2025
- Adobe®️ Photoshop®️ Elements®️ 2024 or 2025
- Adobe®️ Photoshop®️ Lightroom®️ Classic 2024 or 2025
- Serif Affinity 1.8 or later, Serif Affinity 2.0 (NB: Nik HDR Efex merge feature and Nik Collection Switch to mode are not compatible with Affinity)
Languages available
- English, French, German, Japanese, Simplified Chinese, Traditional Chinese, Dutch, Italian, Korean, Polish, Portuguese, Russian, Spanish, Thai, and Turkish.
Number of workstations
- You can activate Nik Collection on three computers (Mac and/or PC).
Installing different major versions
The following rules apply to the DxO version of Nik Collection. They may work with the pre-DxO versions (legacy and Google), but this is not officially supported by DxO Labs.
- From Nik Collection 6.3 onwards, you can install and have different major instances of the Nik Collection (for example, Nik Collection 7 and Nik Collection 8).
- If you use an older major version of the Nik Collection and want to test the last major version, you can install the demo without crushing your version, use it and remove it if you don’t want to upgrade.
- If you like, you can run 2 simultaneous major instances of the Nik Collection (for example, running Nik Collection 1, 2, 3, 4, 5, 6, 7 side by side with Nik Collection 8).
- Installing an update will always replace the relevant major version (for example, Nik Collection 8.1 replaces Nik Collection 8.0 – you can’t have 8.0 and 8.1 running side by side).
Installation

Make sure to quit out of any host image editing application such as Photoshop or Lightroom. Locate the downloaded installation file and double-click on it to begin.
- In the installation window, click on Nik Collection.
- Select the installation language (the system language is selected by default).
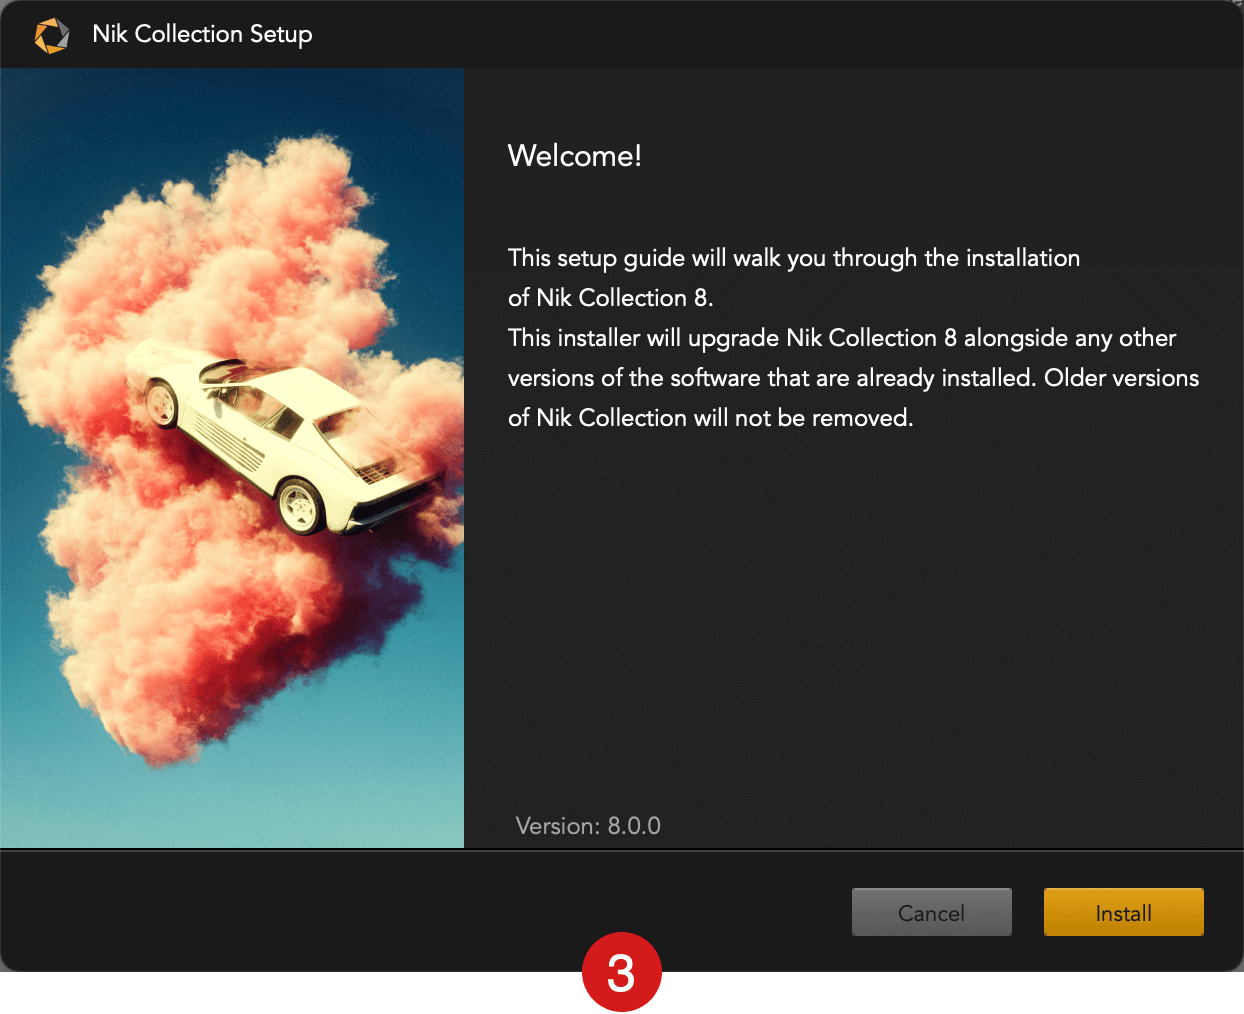
- A dialog box informs you that Nik Collection will be installed in addition to any other major version already on your computer. Then, hit Install.
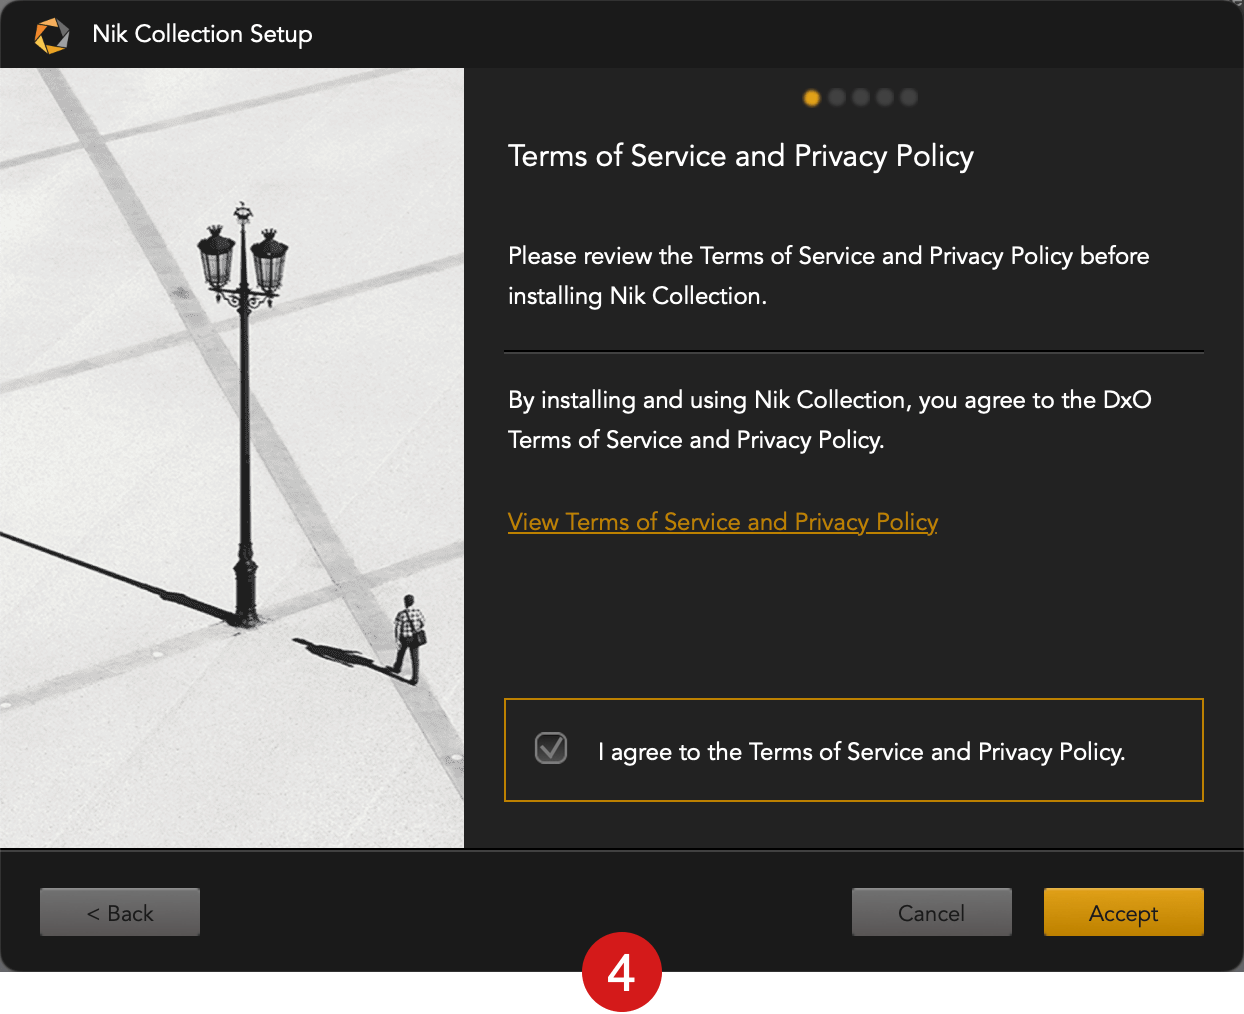
- A new dialog box asks you to accept the license agreement. Check the box and click on Accept (if you do not accept, the installation process will be cancelled).
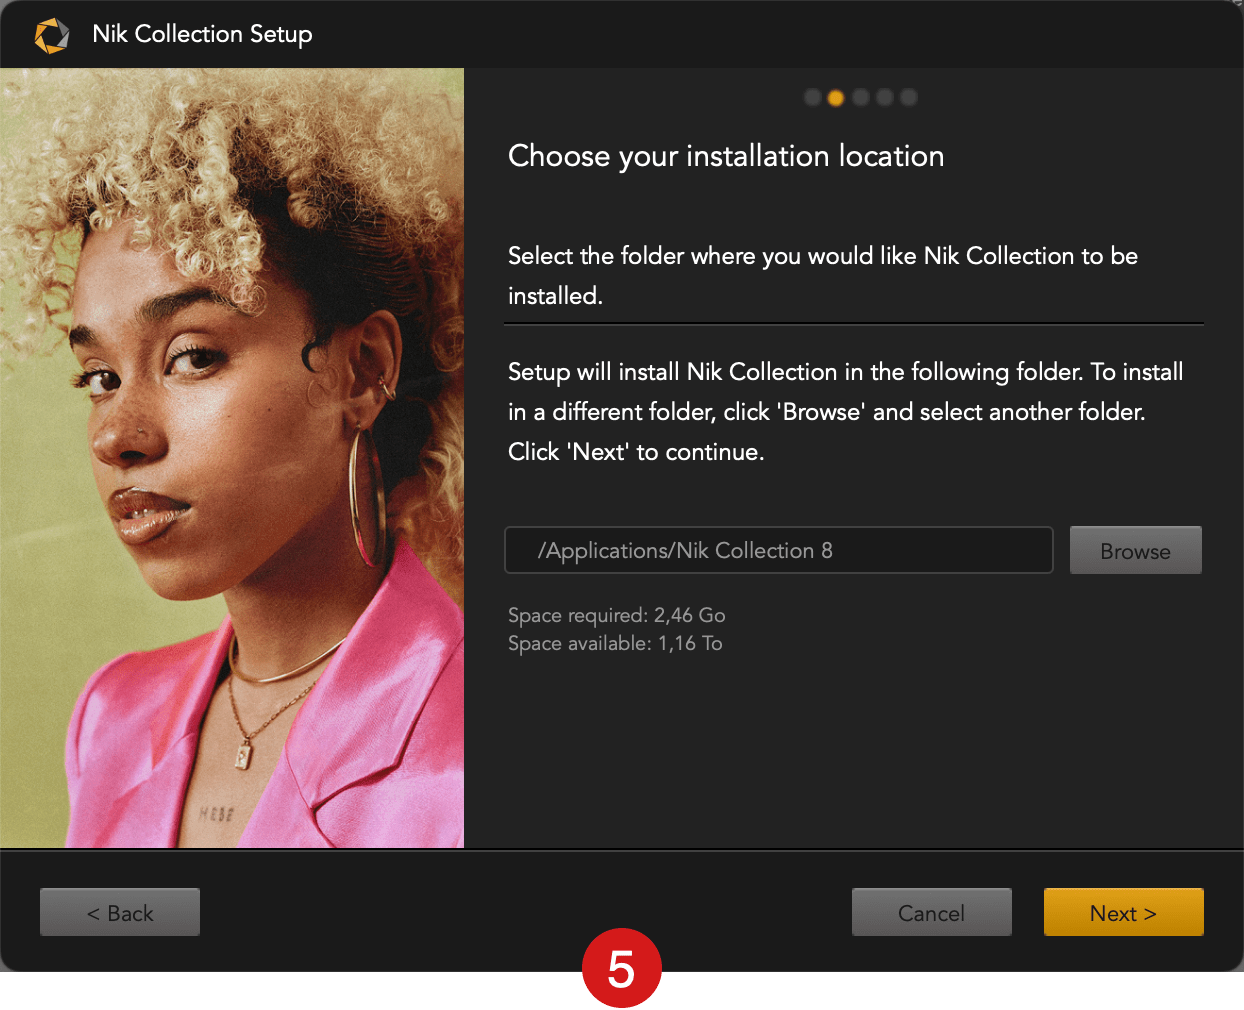
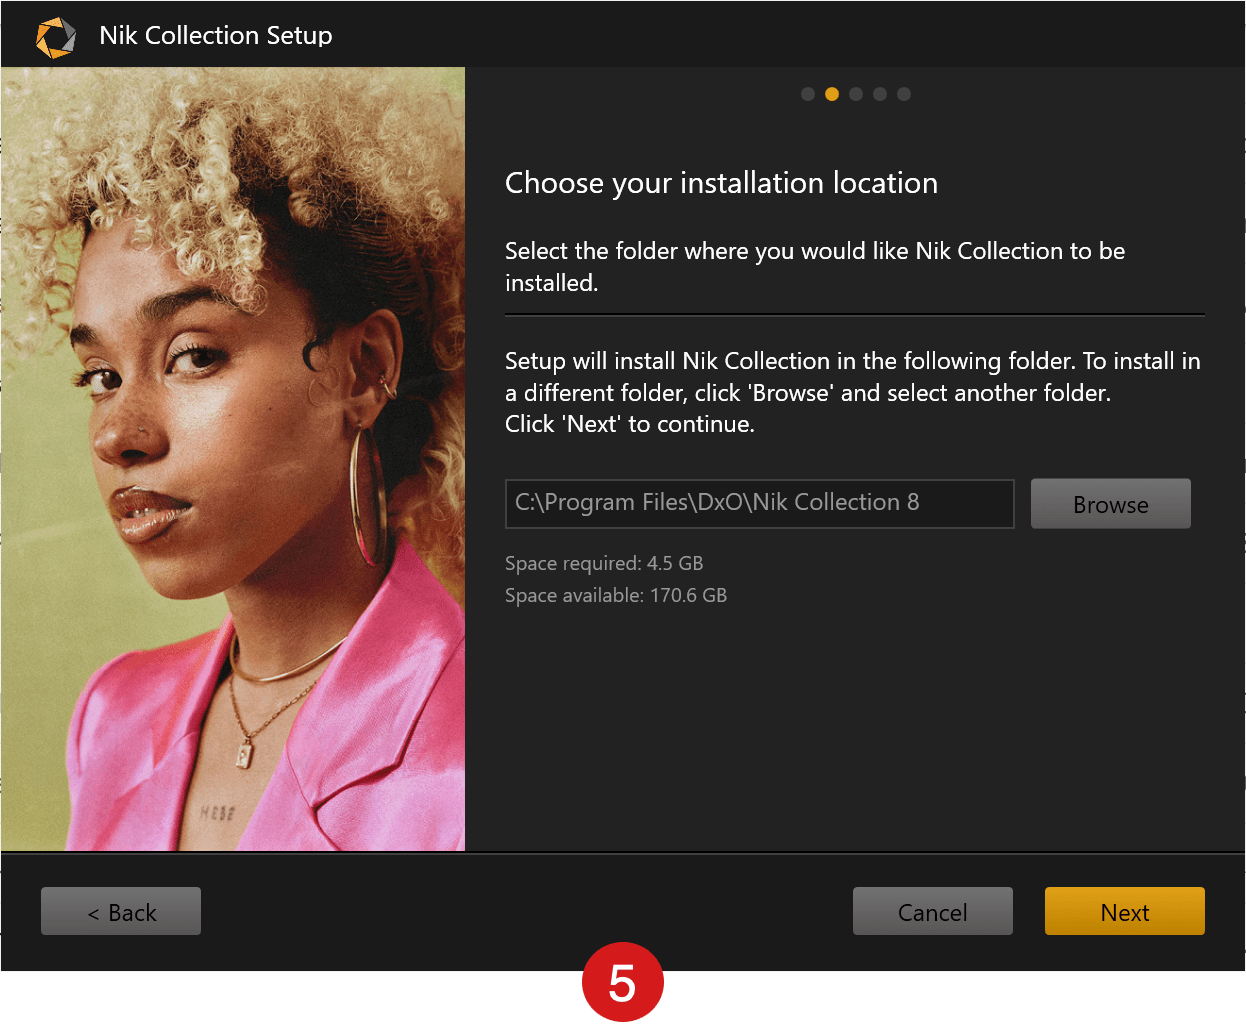
- The installer will suggest a default location (Program Files folder on PC, Applications folder on Mac) and indicate the space required and the space available. If you wish to install the Nik Collection in another location, click on Browse; a system dialog box will prompt you to create and/or select another volume. Click on Next to confirm.
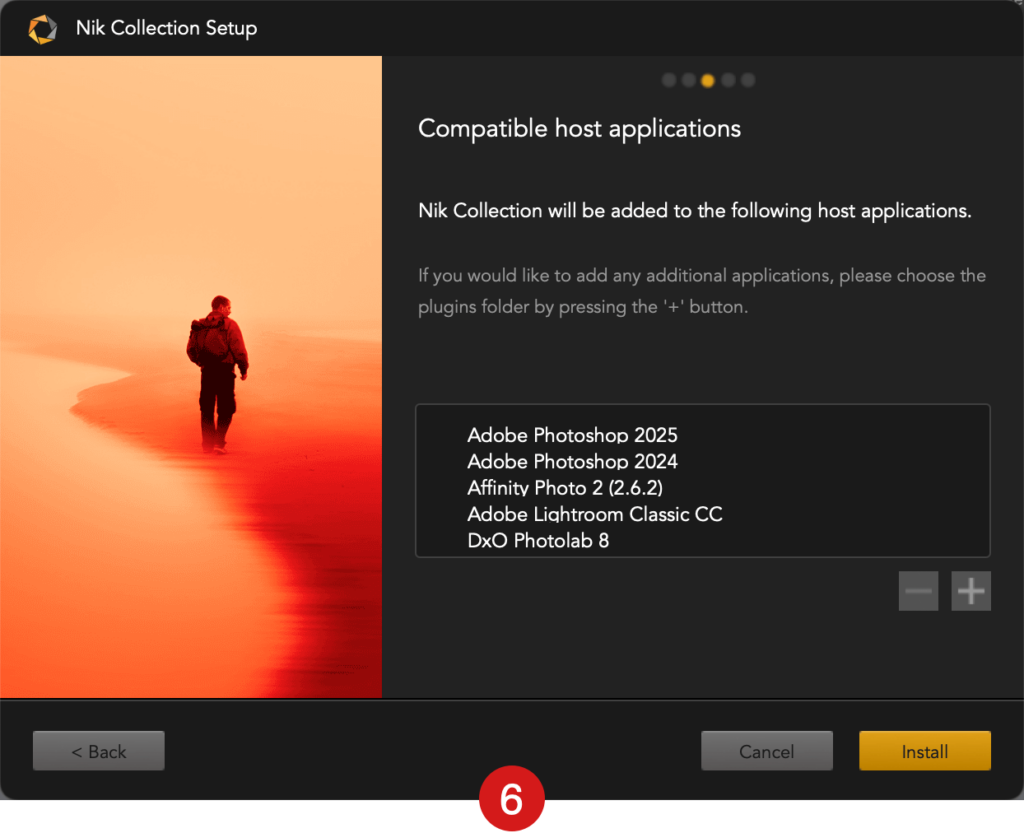
- The next window will show a list of compatible host programs detected on your computer. You can use the “-” button to remove a program from the list. Use the “+” button to add a program that is not automatically detected or that requires a special installation of plugins (see the paragraph on installing in Affinity Photo below). Click on Install to confirm (your system will display a security dialog box asking you to authorize installation).
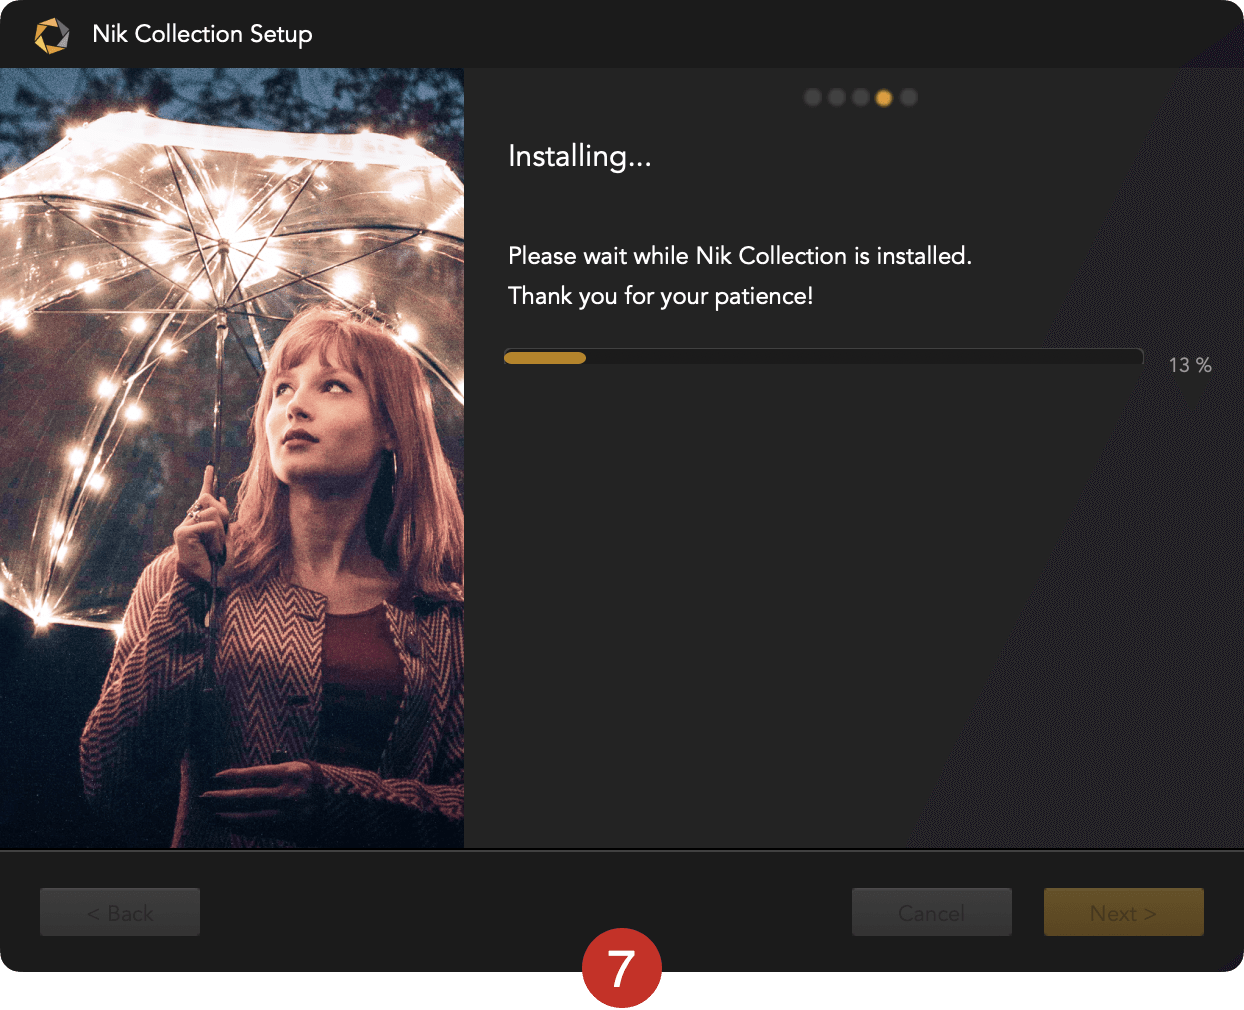
- The installation process will continue, displaying a progress bar.
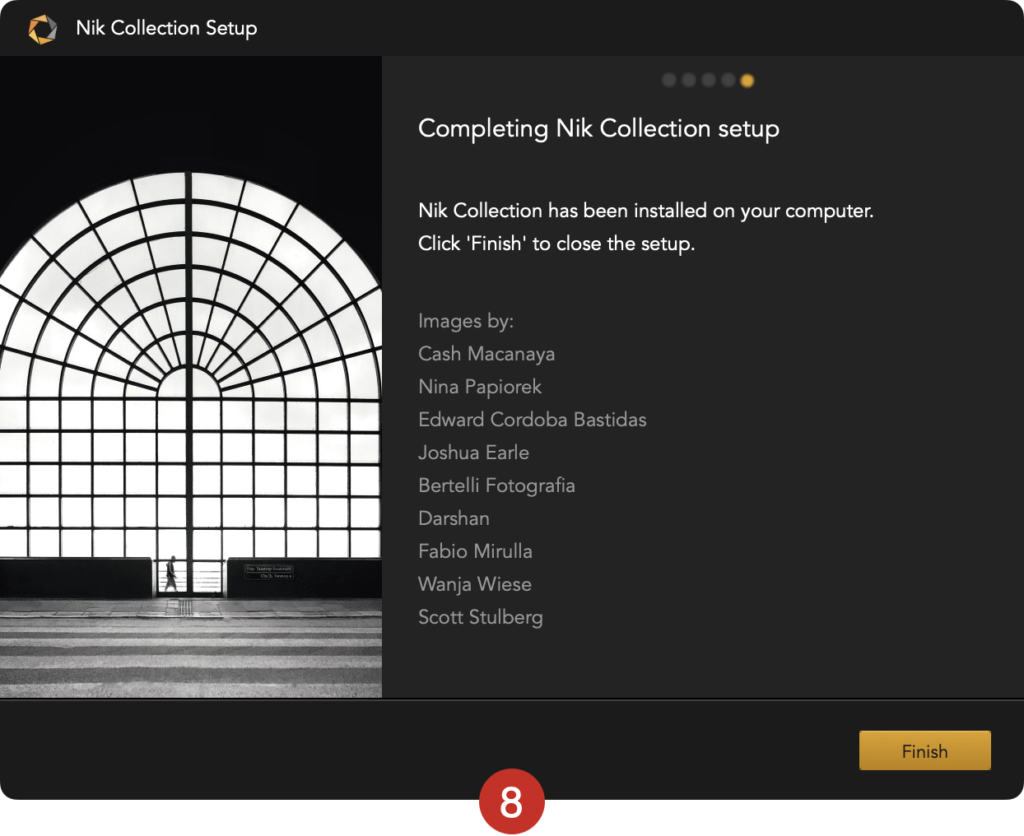
- The final window indicates that installation is complete. Click on Finish to exit the installation program.
Activation
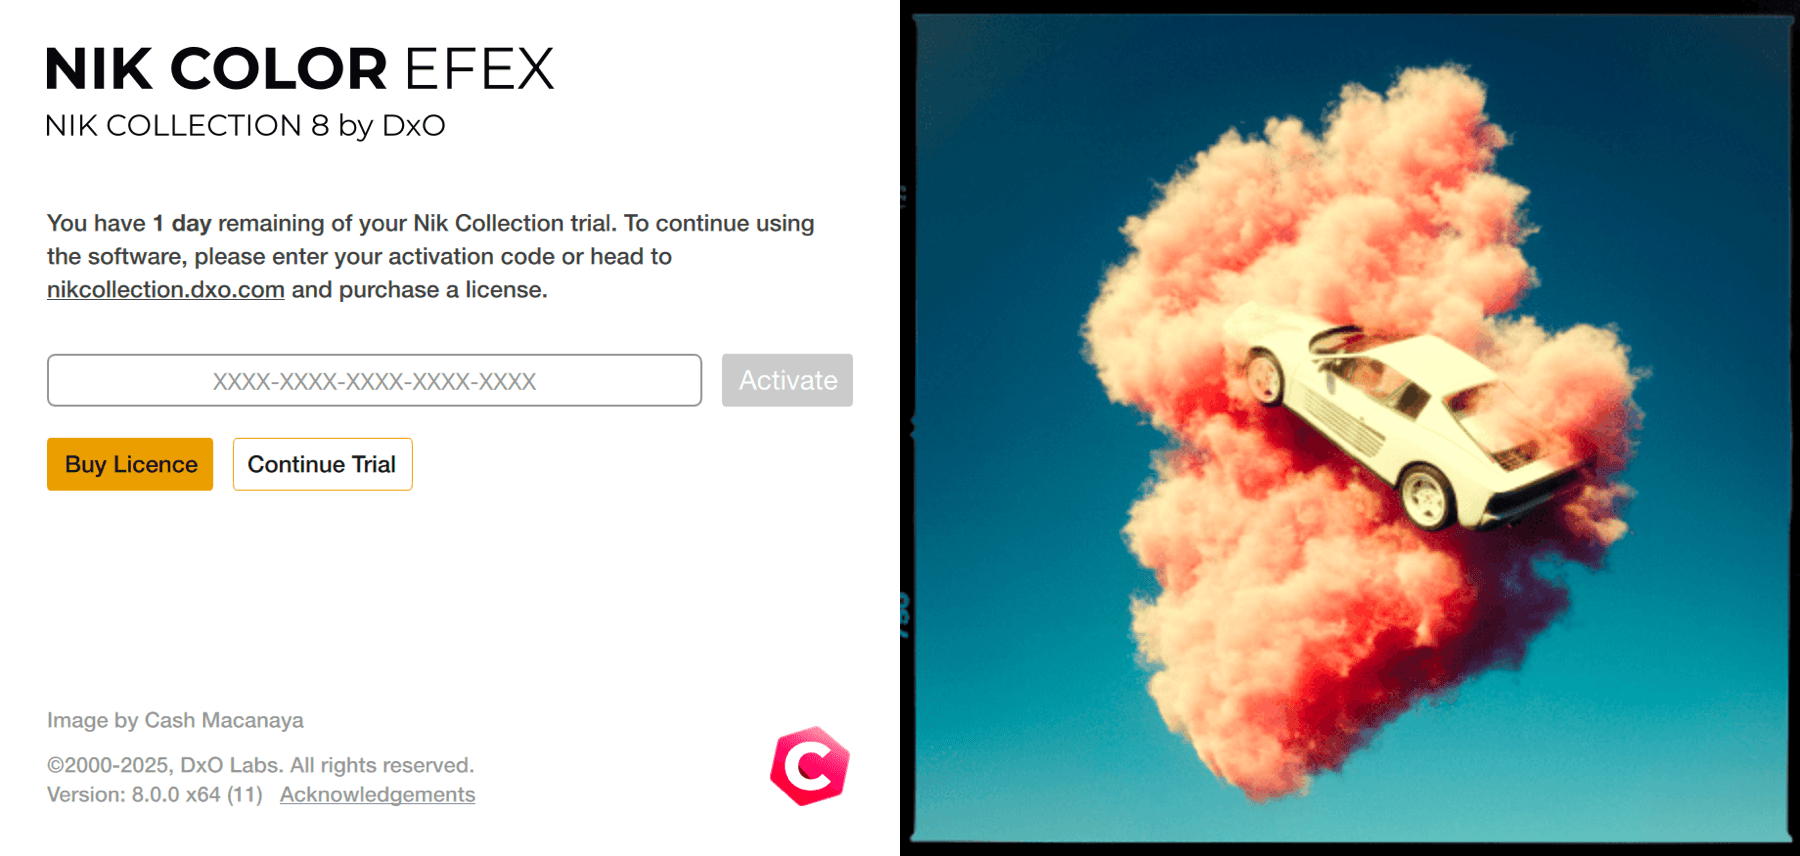
The first time you launch the program after installation, you will be prompted to enter your registration key. This window will appear at each launch as long as you have not entered the key. During the trial period (30 days), you will be able to continue using the Nik Collection; after that, you will be blocked at the registration window.
Installing into a host application
The Nik Collection is automatically installed in the following host applications (make sure you have closed them before installation; if you don’t, a dialog box will appear to notify you):
- DxO PhotoLab.
- Adobe Lightroom Classic.
- Adobe Photoshop.
- Adobe Photoshop Elements.
- Affinity Photo.
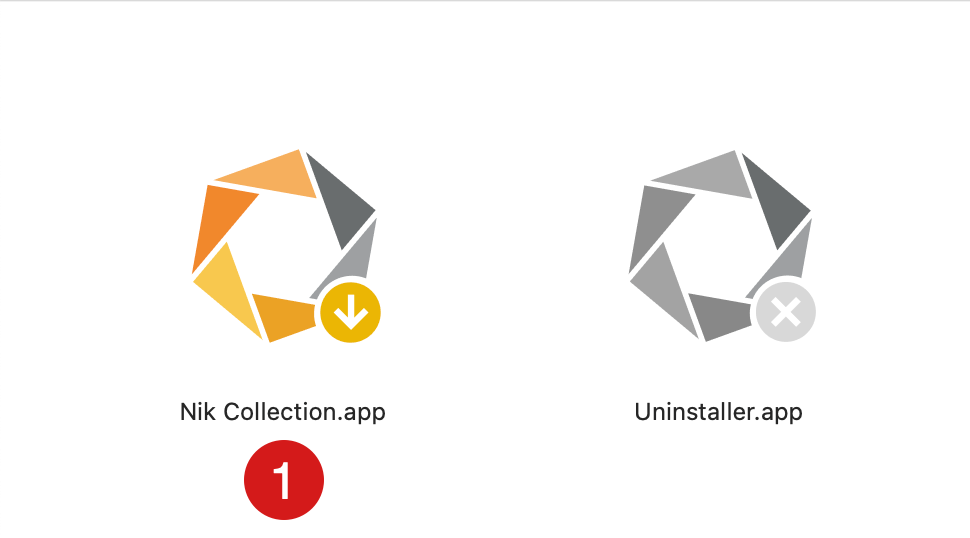
Uninstalling
To uninstall the Nik Collection:
Before uninstalling, close the host applications.
Go to the Programs folder (Mac), and then to the Nik Collection folder, where you will find an Uninstall icon. Click on it to start uninstalling. On PC, go to Settings > Applications > Nik Collection > Uninstall.
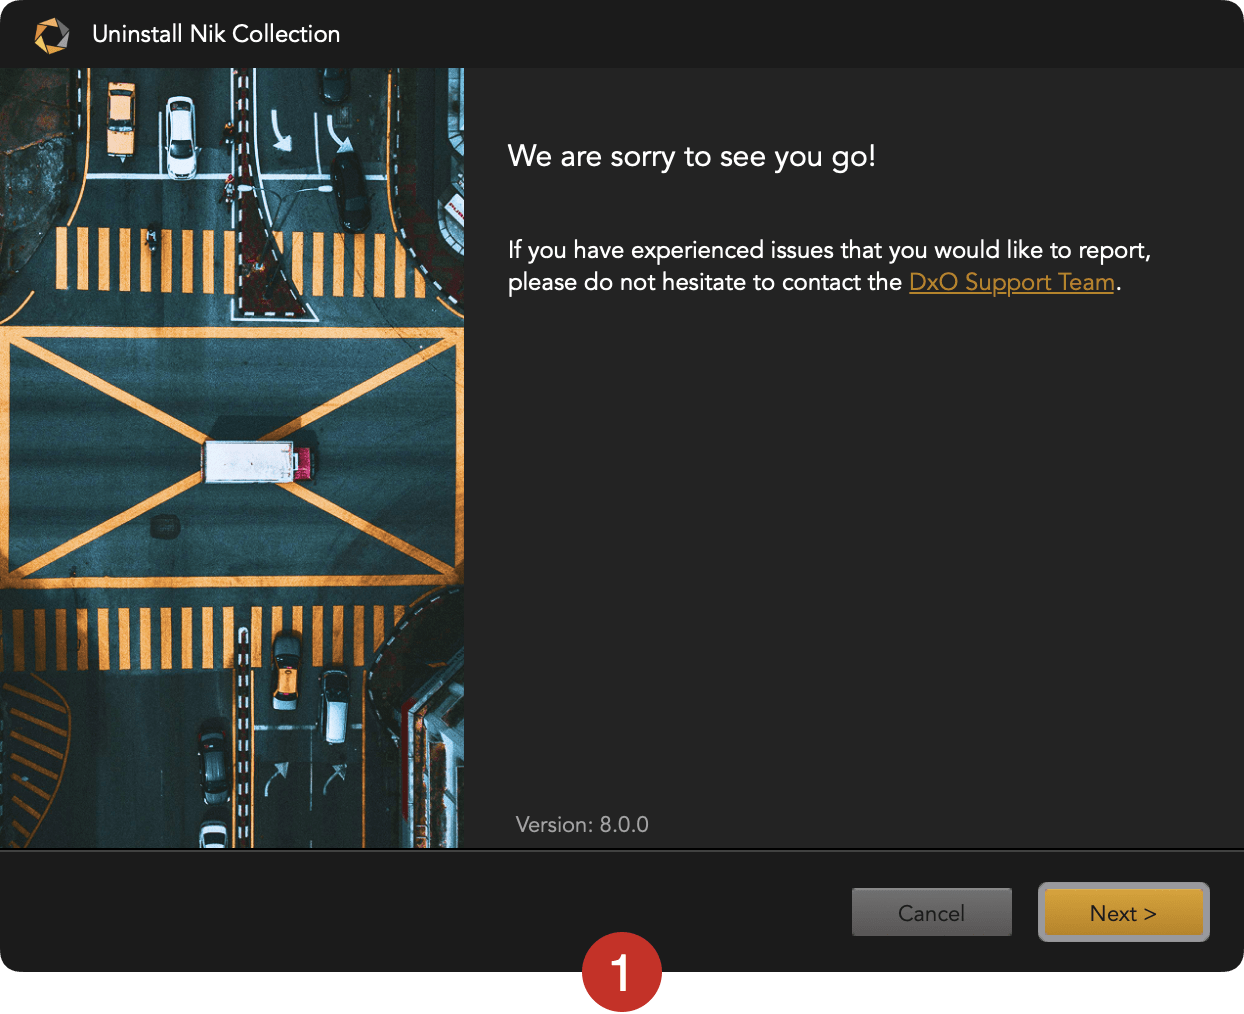
- A dialog box will confirm removal. Click Next.
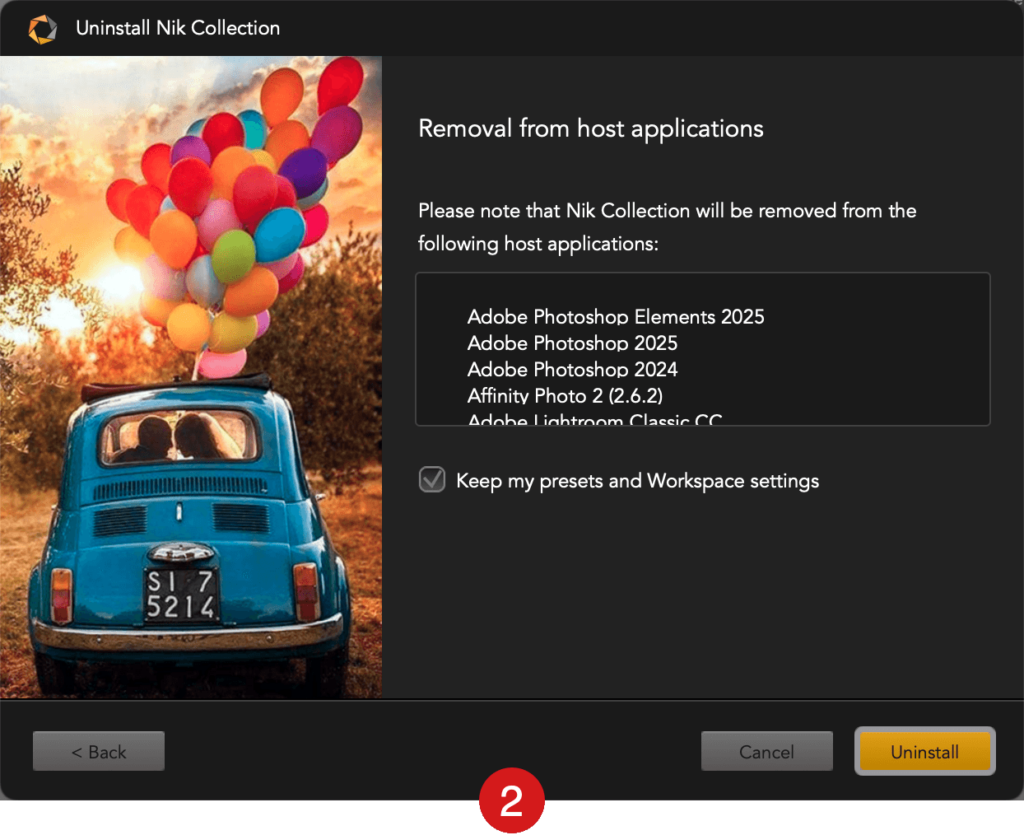
- The Host Applications window shows a summary list and gives you the option of saving your presets by checking the box, even if you uninstall. Then click on Uninstall. Another dialog box displays a progress bar.
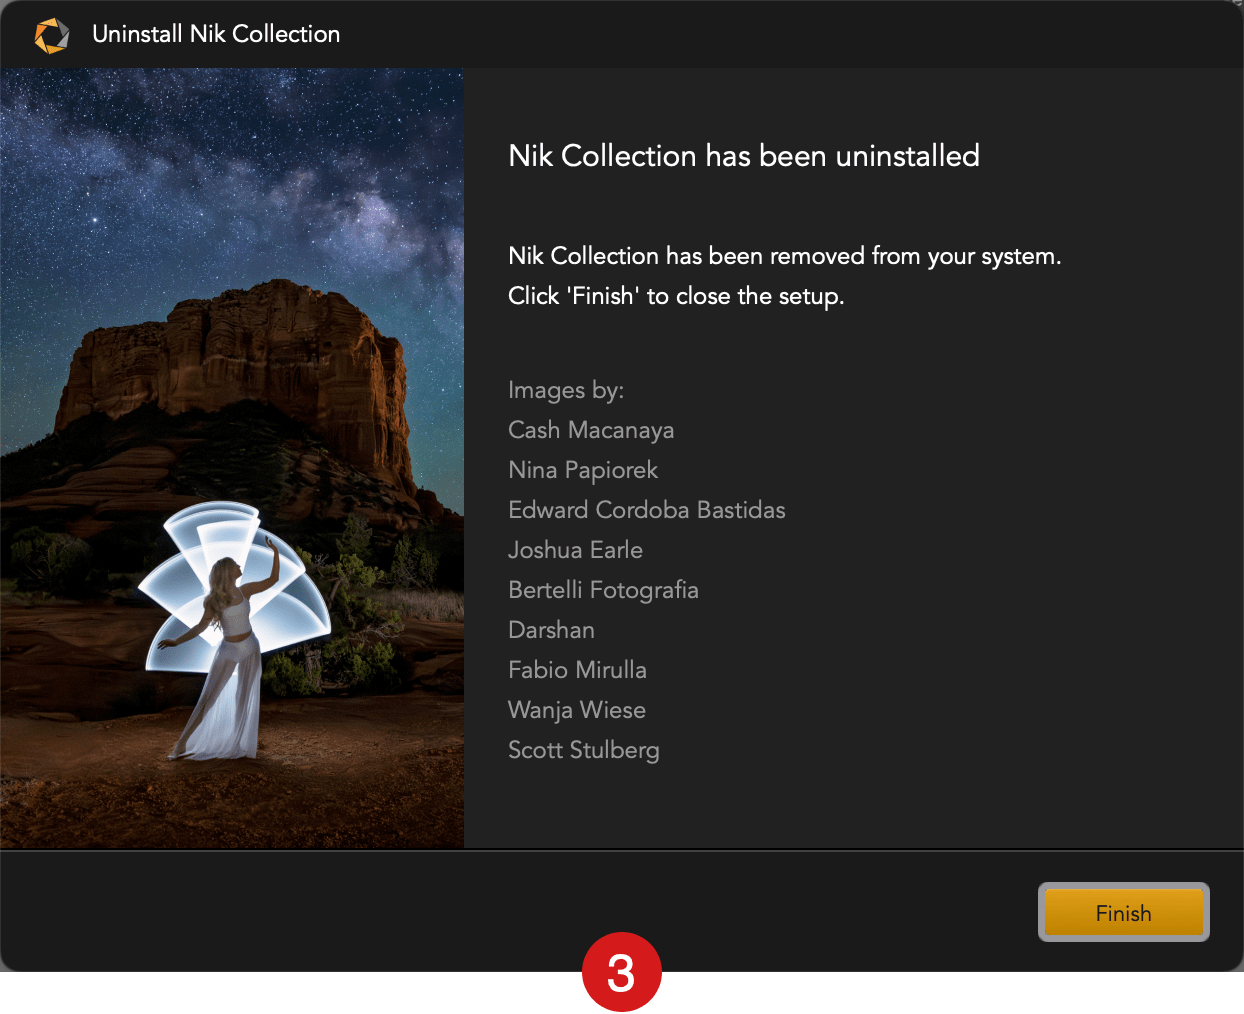
- A dialog box confirms that the Nik Collection has been uninstalled. Click on Finish to exit.