With the Nik Analog Efex plugin you can recreate the look of bygone days by emulating a host of vintage cameras, shooting techniques, film types, and printing papers that combine realistic camera and lens effects, along with their intrinsic flaws.
IMPORTANT
This page presents Nik Analog Efex’s specific features and tools. All the tools common to the other Nik Collection plug-ins are presented in the Interface and common tools page of this user guide. Here you’ll find information on the following points:
- Preferences.
- Interface.
- Categories, filters and presets management.
- Local adjustments.
When image opens
Standard settings
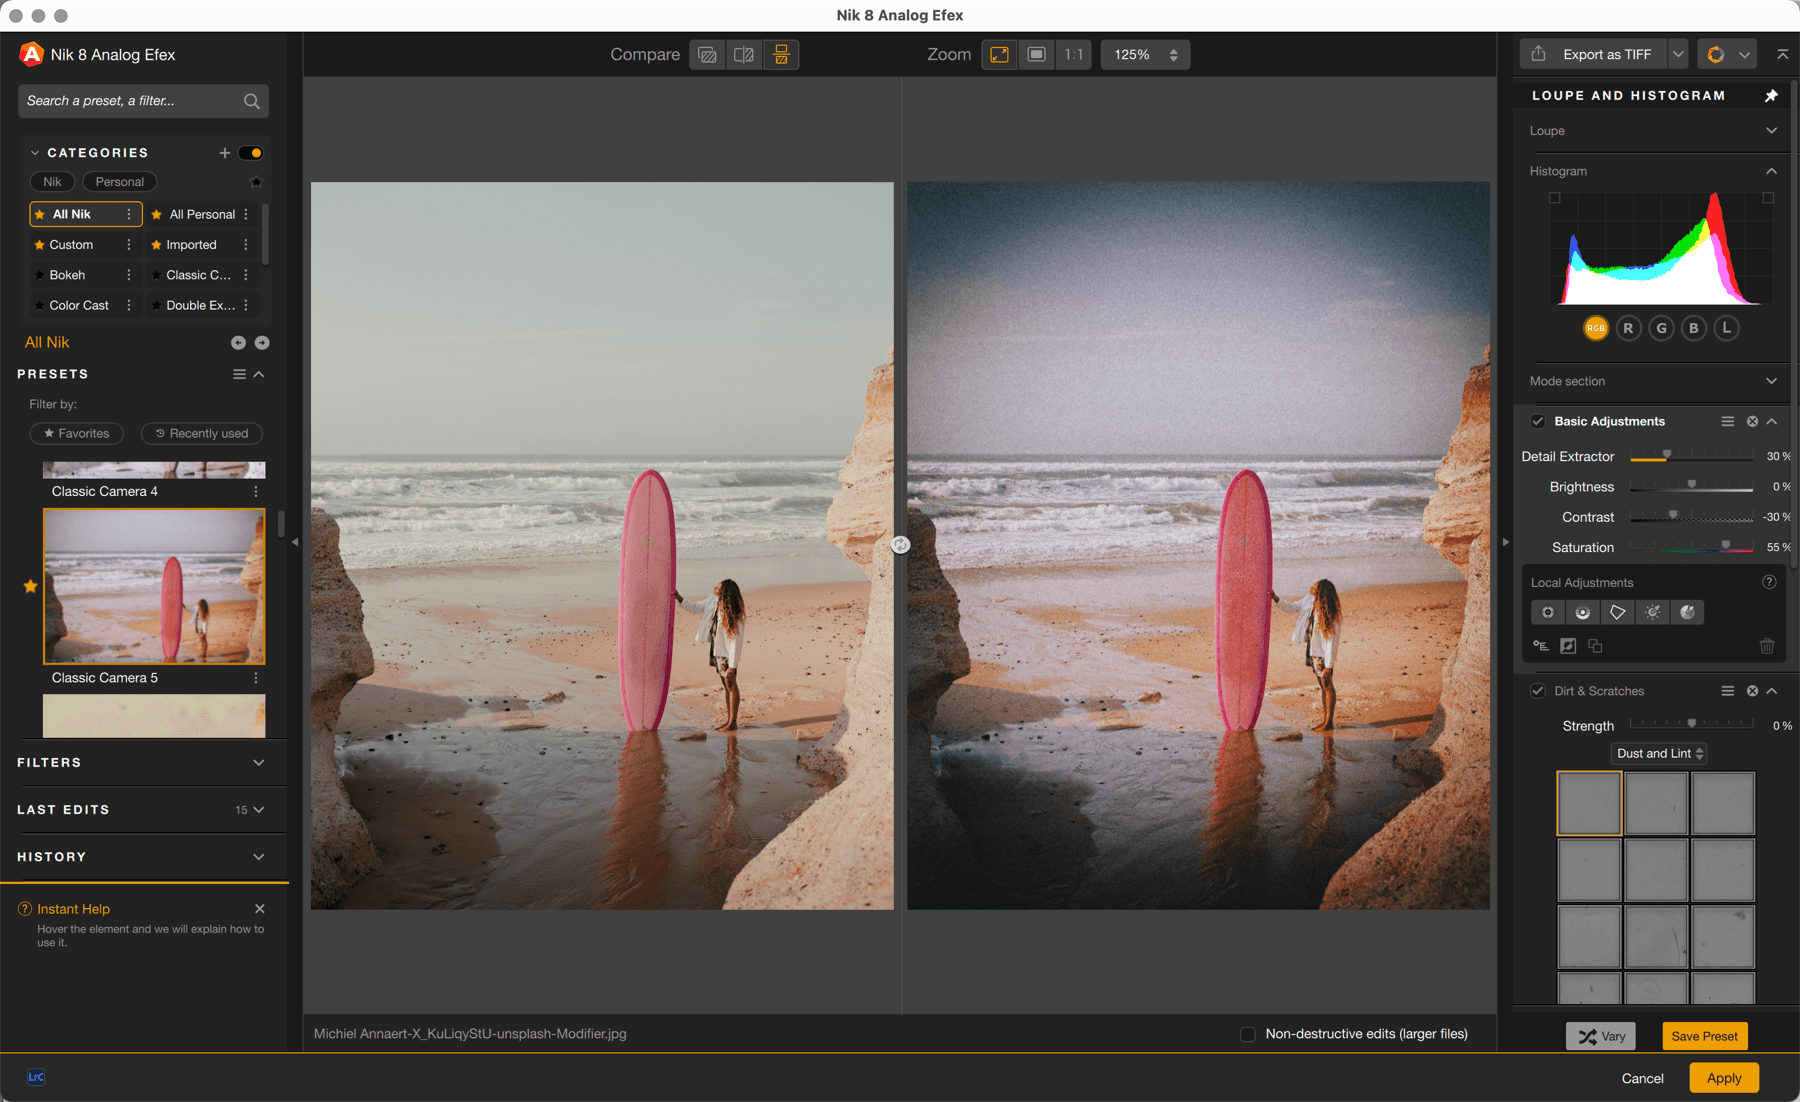
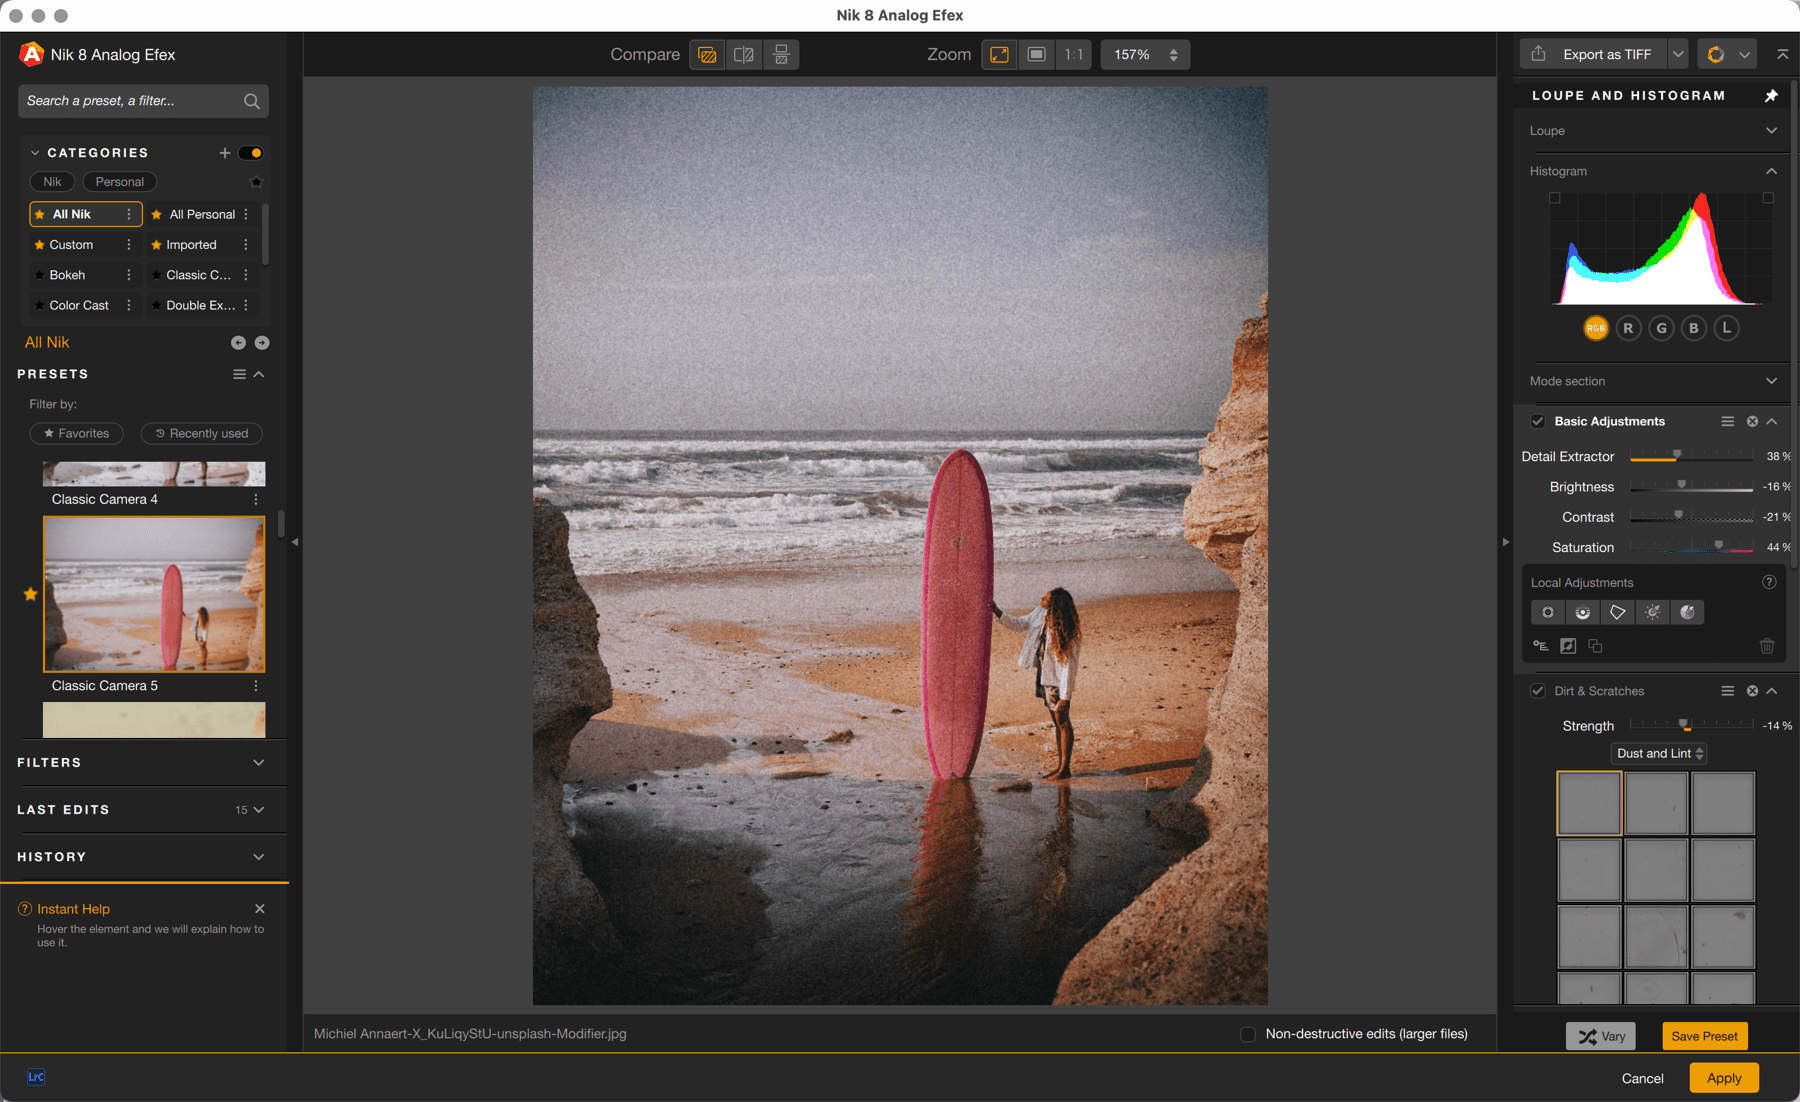
When you open an image in Nik Analog Efex, it appears as it is in the host-app or as it is on the hard disk if you are using standalone mode. No corrections, no preset, no filter are applied at this stage.
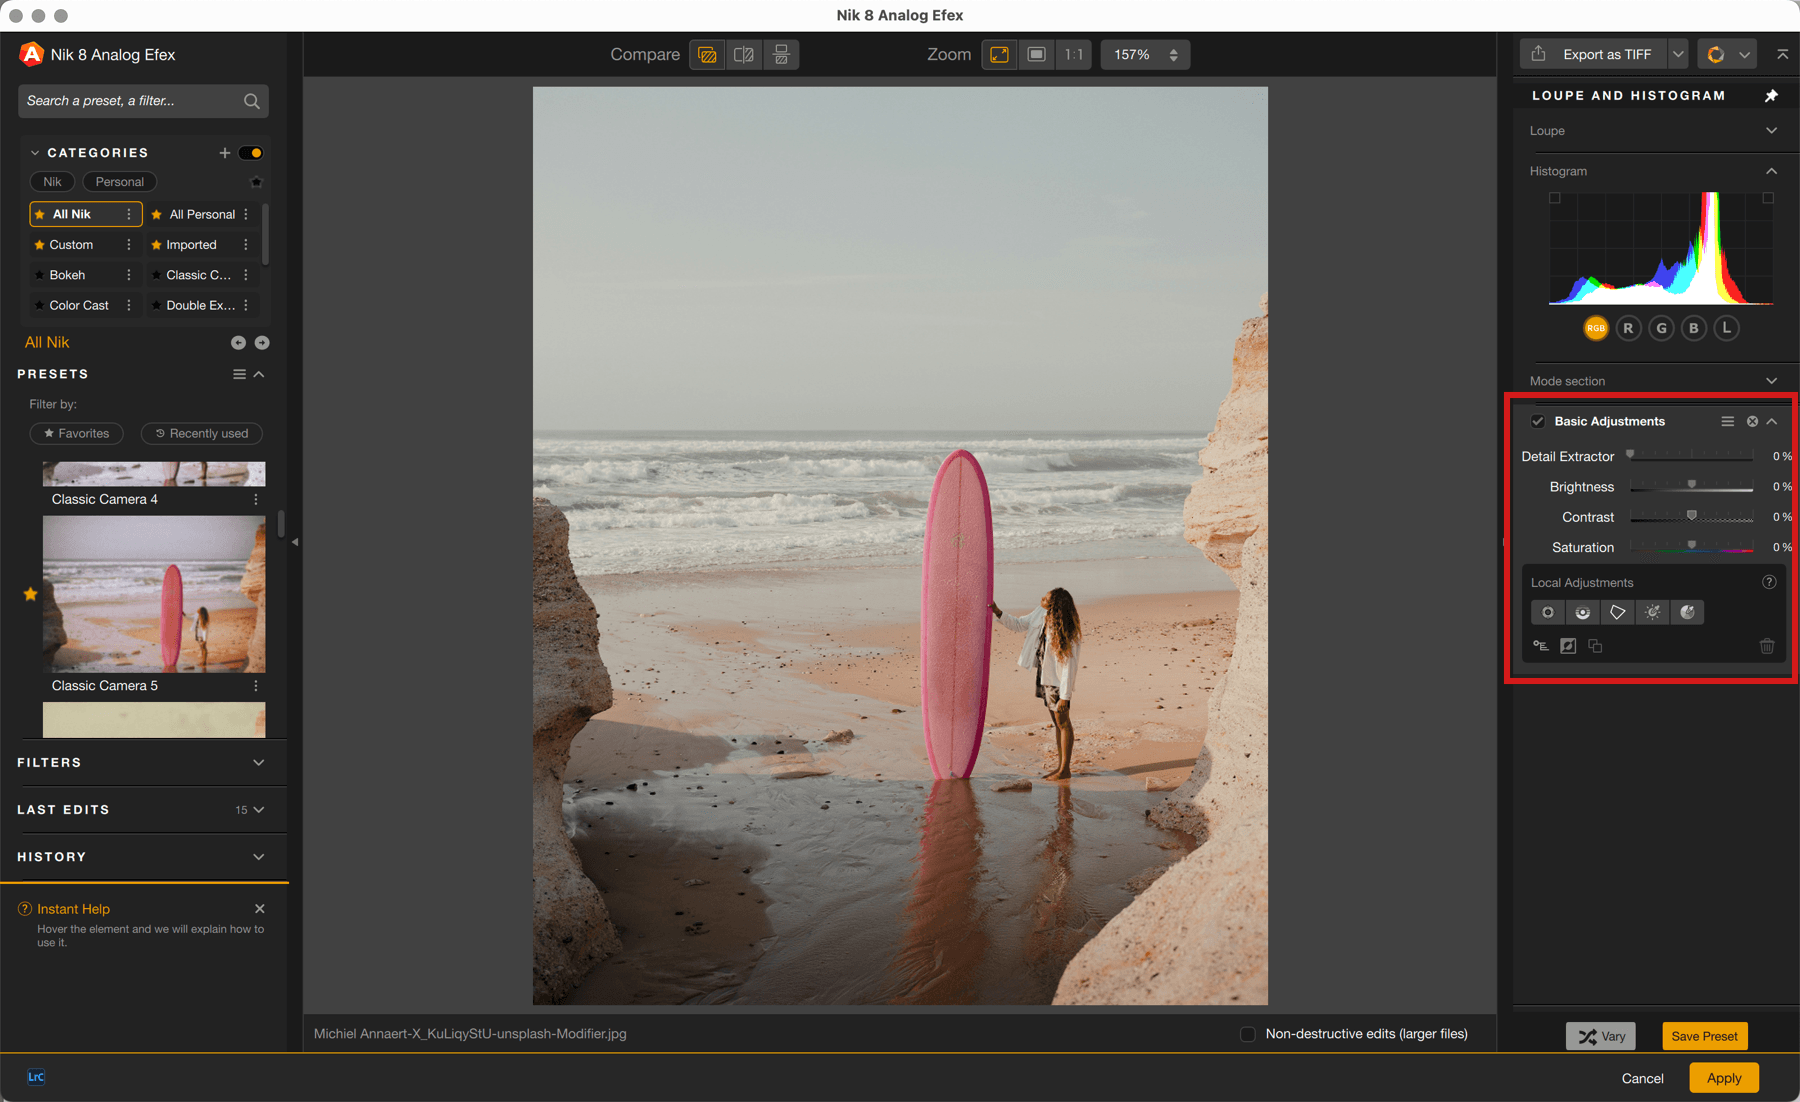
The Basic Adjustments filter is always shown in the right panel when you open an image in Nik Analog Efex, and it is displayed regardless of the filters applied to the image. It is used to make basic corrections to tonality (brightness and contrast), color saturation and detail extraction. These corrections may be applied across the whole image or selectively, using the local adjustment tools.
Each time you add a filter or apply a preset, the associated tools will be displayed and stacked after the Basic Adjustments.
Vary button

When you apply a filter or a preset, an array of tools are displayed in the right panel. The Vary button is a simple way of changing or adjusting the settings proposed by the effect applied, in small increments and with no effort on your part. Every time you click on this button, it will make slight adjustments to the various cursors, but without altering the effects applied, for example a type of scratch or type of film (which you can always change yourself in the sections displayed).
When using the Vary button, whenever you find a look and adjustments that you like, you can save a custom preset.
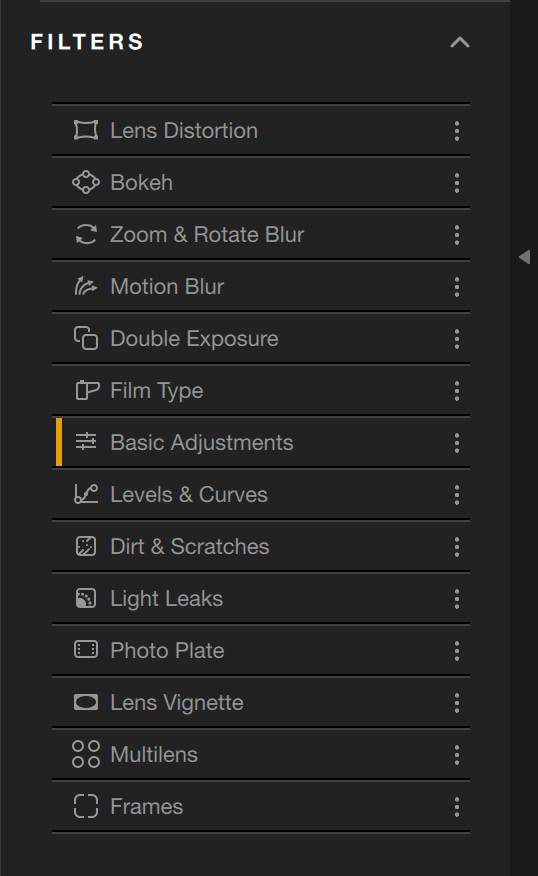
Filters
The filters located in the left panel lets you design your own look in Nik Analog Efex, using or combining the different effects described below.
Basic Adjustments
Use this filter to adjust the basic image characteristics: detail, brightness, contrast, and saturation, either globally or locally, with a control point and/or line. This filter is displayed by default in the right panel when you open an image in Nik Analog Efex.
| Detail Extraction | Lets you control how much detail is accentuated. Increasing the value of this slider amplifies details while lightening shadows and tamping down highlights. As a result, the tone is distributed more evenly throughout the photo. |
| Lightness | Controls the overall brightness of the image. |
| Contrast | Controls the overall contrast of the image. |
| Saturation | Controls the overall saturation of colors in a photo. |
| Local adjustments | Selectively applies corrections to the various sliders in the panel and adjusts their opacity. |
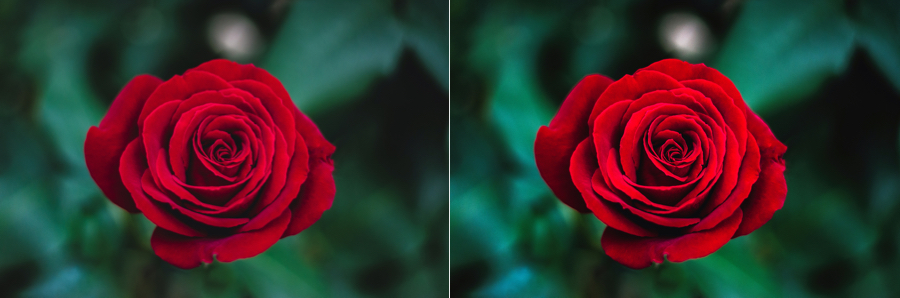
Lens distortion
Try out the optical distortion properties typical of lenses with extreme focal lengths. Apply concave or convex distortion, or the color fringes of chromatic aberrations.
| Type of Distortion | Drag the slider to the left to apply pincushion (concave) distortion or to the right for barrel (convex) distortion. |
| Chromatic Shift | Controls the extent to which a chromatic change appears. |
| Chromatic aberration | Select the color combination for the fringes caused by chromatic aberration. |
| Defocus | Gradually introduces blur throughout the entire image. |
Bokeh
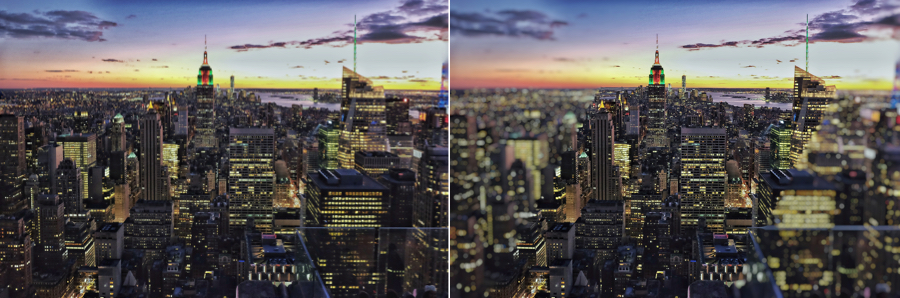
Apply the Bokeh filter to creatively control image sharpness. Use the Insert to Image control to adjust the size and shape of the blurred area or to move the focus away from the center, if desired.
| Bokeh Style | Choose between elliptical or tilt/shift blur. |
| Blur Strength | Lets you determine the amount of blur applied to the photo. |
| Boost Highlights | Lets you increase the intensity of the highlights in the blurred area. |
| Aperture Shape | Click the arrows to choose from several shapes to apply to blurred highlights. |
| Aperture Rotation | Adjusts the angle at which the aperture shape is set. |
| Aperture Variation | Drag the slider to the left for a concave aperture shape or to the right for a convex aperture shape. |
Zoom & Rotate Blur
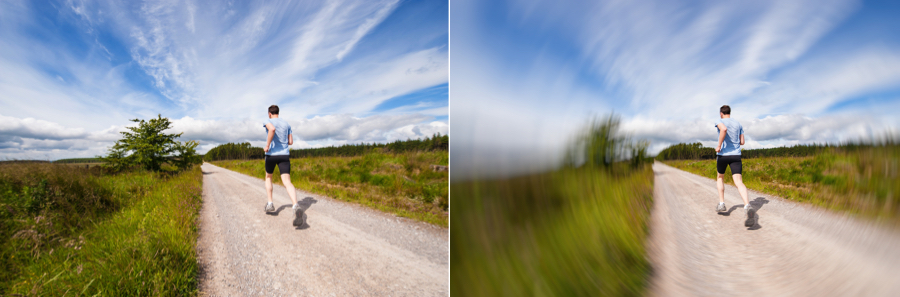
Apply a creative blur effect around the centre of the image as if zooming and rotating to draw the eye into the image. Use the Insert command on the image to move the focus away from the centre, if desired.
| Protect Center | Adjusts the size of the targeted centre area. |
| Zoom Strength | Controls the amount of blur applied to the image for zoom movement. |
| Rotate Strength | Controls the amount of blur applied to the image for rotational movement. |
Motion Blur
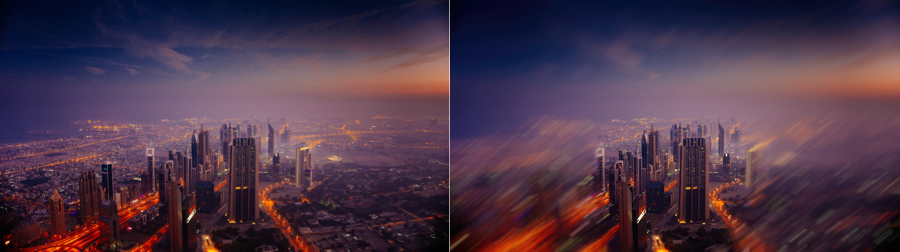
Create motion, distortion, or texture in the image to make it appear as if the camera or subject is moving. Use multiple vector points to customize the appearance of the desired movement.
| Blur Strength | Controls the amount of blur applied to the image during directional movement. |
| Add Blur Point | To add vector points, click Add a blur point, and then click in the image to insert the point. Click and drag the point at the end of the vector to change the direction or the extent of the vector. Use the Delete key on your keyboard to quickly delete the last inserted point. |
Double Exposure
Apply this filter to recreate the silver emulsion, analog, effect of two images being captured on a single frame. Choose to overlay a second image on top of the first, or use the frame inlay to overlay, shift and enlarge the same image twice.
| Second Exposure | By default, the original image is duplicated and appears as a second exposure. Click the “+” button to replace it with another .tif or .jpg image instead. |
| Exposure | Protects the overall brightness and contrast of the single image generated by the double exposure. |
| Exposure Balance | Controls the opacity of the second exposure. |
| Zoom Strength | Adjusts the zoom effect of the double image. |
| Rotate Strength | Adjusts the rotation of the double image. |
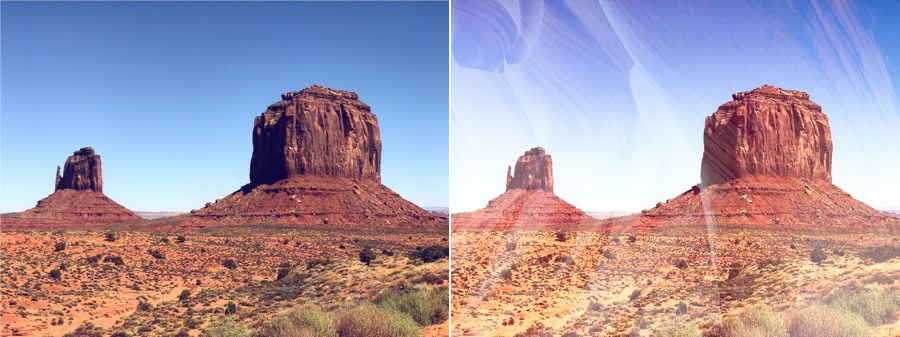
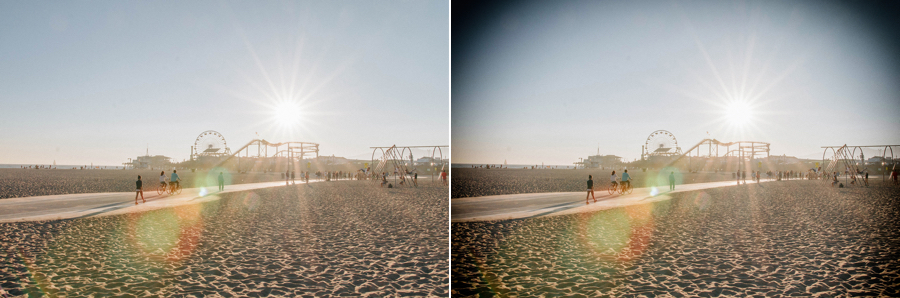
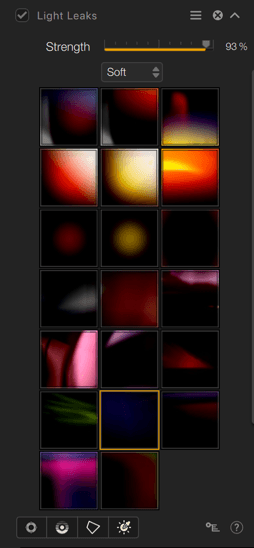
Light leaks

Adds light to the image. Add light to the image, and use the Insert control on the image to customize the location of the light to vary the effect and make sure the light is placed where you want it. To vary the effect, choose between soft, sharp and precise or dynamic shapes. Use the Intensity slider to adjust the general opacity of the light, or a control point and/or line to adjust the effect in a selective manner.
| Intensity | Adjusts the presence and impact of the effect applied to the image. |
| Effects menu | Offers a wide selection of light leaks in three categories (Soft, Crisp, Dynamic). |
| Local adjustments | Applies the selected effect locally and adjusts its opacity and color selectivity. |
Dirt & Scratches
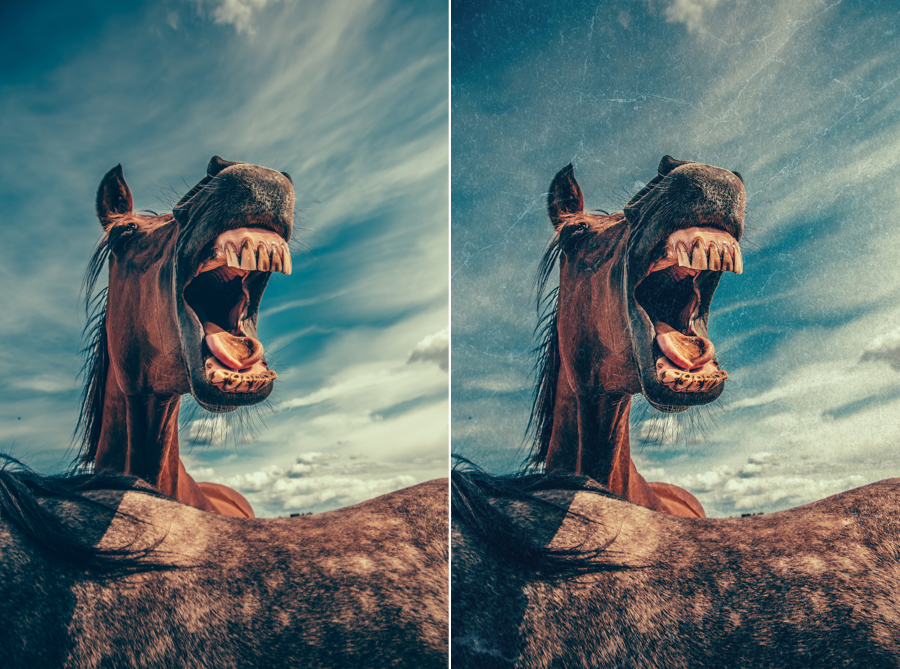
Give the impression that your photos have been developed with a negative damaged by dust, scratches, and/or stains. Use the Insert control to adjust the location of marks, to vary the effect, and to make sure the texture appears exactly where you want it. Choose a Dust and Lint, Scratches, Organic, or Eroded texture, then apply it in black or white to vary the effect. Use the intensity slider to adjust opacity and global tone of the texture, or a control point and/or line to adjust or remove the effect selectively.
| Intensity | Adjusts the presence and impact of the effect applied to the image. |
| Effects menu | Offers a wide selection of defects in four categories (Dust and Lint, Scratches, Organic, Eroded). |
| Local adjustments | Applies the selected effect locally and adjusts its opacity and color selectivity. |
Photo Plate
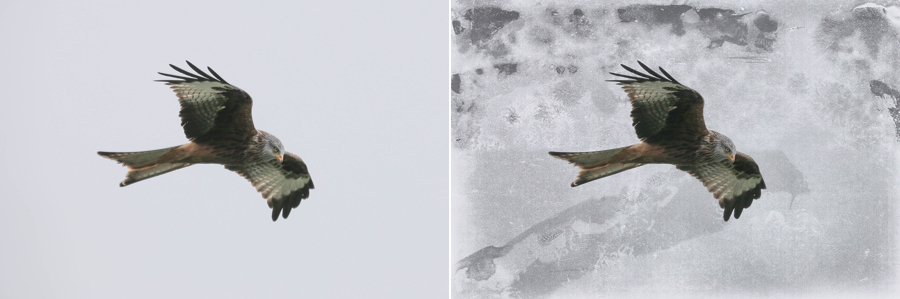
Takes a digital image and simulates the natural textures typical of darkroom processing. Choose a Streaked, Corroded, or Concrete< style, then apply the texture in black or white to vary the effect. Use the intensity slider to adjust opacity and global tone of the texture, or a control point and/or line to adjust or remove the effect selectively.
| Intensity | Adjusts the presence and impact of the effect applied to the image. |
| Effects list | Offers a selection of plates in three categories (Streaked, Corroded, Concrete). |
| Local adjustments | Applies the selected effect locally and adjusts its opacity and color selectivity. |
Lens Vignette
Simulates the vignetting created by different types of lenses. The darkening of the edge of the frame helps to draw the viewer’s eye within the image boundaries and gives the picture more depth. Use the Insert command on the image to move the vignetting away from the center, if desired.
| Amount | Controls the intensity of the vignetting. Move the slider to the left to add vignetting darkening to the image edges. Conversely, move the slider to the right to add lightening vignetting to the edges. |
| Circle/Rectangle | Controls the overall shape of the vignetting: circular or rectangular. |
| Size | Sets the area in the image to which vignetting is to be applied. |
Film Type
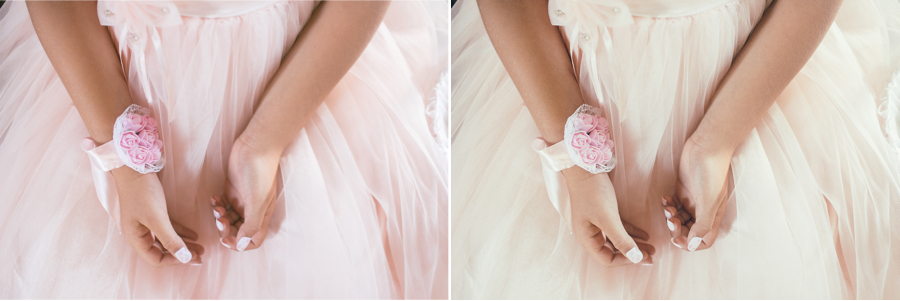
Simulates different film styles with various colors, tones, contrasts, and grain styles. You can choose between warm, cool or subtle color variations.
| Effects list | Used to select film renderings from five categories (Warm, Cool, Subtle, B&W neutral, B&W toned). |
| Neutral/Faded | Drag the slider to the right to give a retro fade effect. |
| Intensity | Controls the degree to which the filter is applied to the photo. |
| Grain per pixel | Based on Nik’s unique grain engine, this slider is used to add realistic grain to the photo. Moving the slider to the left reduces the number of grain elements applied per pixel, increasing the size and visibility of the grain throughout the photo. If you don’t want to apply any grain to your photo, move the slider all the way to the right. |
| Soft | Adjusts the appearance of the grain. When the grain is coarse, the image will appear more detailed and sharp. When the grain is finer, the image feels more natural. |
Multilens
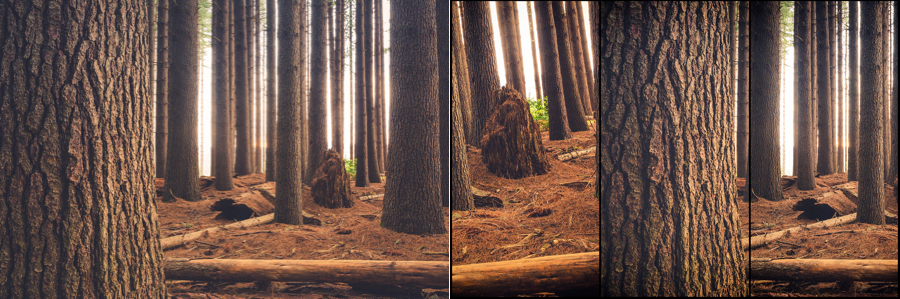
Instantly create a dynamic multi-border layout with multiple focal points in a single image.
| Scale to fit | Choose a layout from a selection of five layouts and four borders. |
| Border Color | Apply a professional white or black border, or remove the border completely for a smooth outline. |
| Border Width | Adjusts the width of a white or black border. |
| Vignetting | Adds a darkening effect to each border. |
| Variation Strength | Adjusts the degree of tonal variation between borders. |
| Variation Type | Lets you select one of five different patterns of tonal variation between borders. |
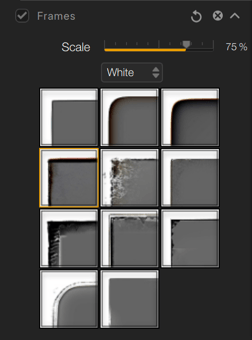
Frames
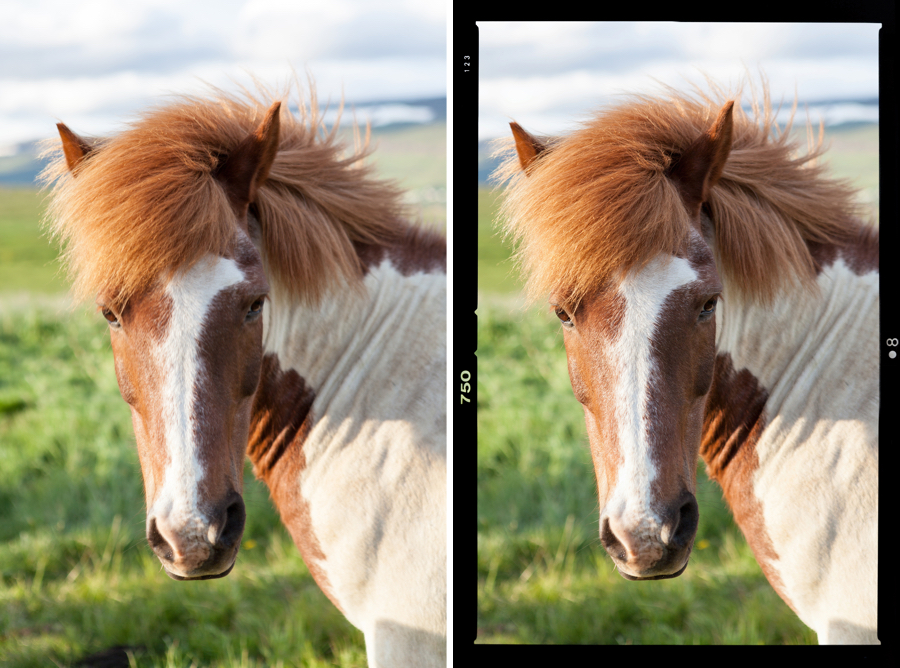
Choose a border type from styles that simulate different types of films, or a more subtle streaked border from the Filmstrip, White, or Lightbox border collections. Use the Scale slider to adjust the width of the selected borders.
| Scale | Use to adjust the thickness of the frames. |
| Effects list | Offers a wide choice of frames grouped in three categories (Filmstrip, White, Lightbox). |
Levels & Curves
| Channel | Selects the channel for which the tone is to be set. In addition to the RGB (Red, Green, Blue) channels usually located in the Curve dialog boxes, the Levels & Curves filter also provides a brightness channel that lets you adjust the brightness and contrast of your photo without changing the colors. You can also adjust the brightness and contrast of your photo without changing the colors. |
| Opacity | Adjusts the degree to which the filter is added to the photo. |
| Tone Curve | Click on the curve to add anchor points to it directly. To remove an anchor point, double-click on it. |
| Levels sliders | Move the Shadows, Midtones, and/or Highlights sliders to adjust the tone ranges. |
Levels and curves are among the most commonly used tools for adjusting the brightness and tone of an image. This filter lets you fine-tune basic brightness and contrast. Levels and Curves panel
You can find more information about the Levels & Curves tool in the Overall and Selective Correction Tools section.
Overall and local adjustement tools
Overview
In this chapter, we will look at the following topics:
- General information on the correction tools.
- Use of the Levels & Curves tool.
- Using the embedded tools.
- Use of local adjustments.
Correction tools (general information)
Each filter and preset comes with a number of sliders and special tools. There are many different effects, but there are some common features:
- The sliders have a default value which may be 0%, 50% or 100%, depending on the case and effect. When you apply a filter or a preset, the sliders usually offer a setting which you may adjust or reset to its default value.
- Sliders affecting brightness and tonality go from dark on the left to brighter on the right.
- Sliders affecting colour and effects are less intense to the left and more intense to the right.
- The Strength sliders can be moved from 0% (no correction or effect) to 100% (maximum correction or effect).
- The Intensity slider in some sections adjusts the overall effect on the image, independently of the intensity and/or opacity adjustments applied by local adjustments.
- To reset a slider to its default value, double-click on it.
- You will find the different effects and renderings available in the dropdown lists. There is no mouse-over preview. You will thus need to click to apply the desired effect or rendering.
- Whatever the corrections and effects, your choice remains reversible as long as you keep your Nik Analog Efex session open. There is also a non-destructive mode (see Workflow > Non-destructive Workflow).
Levels & Curves tool
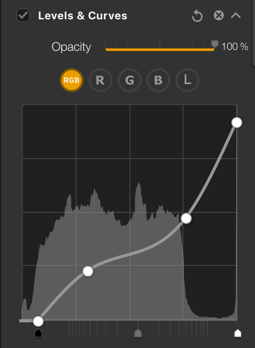
Nik Analog Efex’s Levels and Curves tool can be selected in the Filters section, in the left panel. It can be used to refine or adjust the contrast of your image, either overall or by RGB channel using the Level sliders:
- RGB button: this is selected by default and is used to adjust the brightness and contrast of your image without altering the colors. The histogram represents the 3 RGB channels combined, and the curve is white.
- The R, G, and B buttons: let you adjust the brightness of the Red, Green or Blue channels, to attenuate or reinforce their respective dominance. The histogram represents the selected channel and the curve takes the color of the chosen channel (red, green, or blue curve).
- Curve: click on the curve and hold down the left mouse button to adjust it. You can add anchor points to the curve, which will allow you to lock the contrast settings to specific points on the curve, and therefore on the image. To remove an anchor point, double-click on it.
- Levels sliders: Move the Shadows (left), Midtones (center), or Highlight (right) sliders to adjust their respective ranges.
To reset the settings:
- Click on the double arrow and select Reset Filter (you have the option of keeping or removing the local settings).
- Double-click on the anchor point(s) to remove them (the curve is reset once the last remaining anchor point is removed).
- To temporarily disable the tool effects, check/uncheck the Levels & Curves box.
The Opacity slider is set to 100% default and is used to reduce the strength of the Level & Curves adjustments.
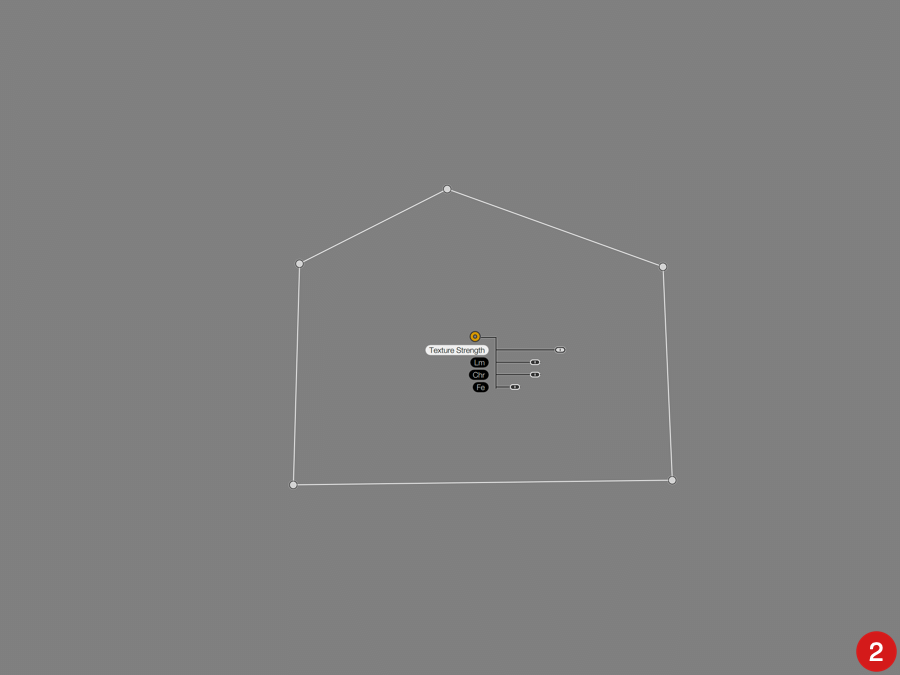
Embedded tools
Some filters use embedded tools, that let you reposition and change the look of the effect:
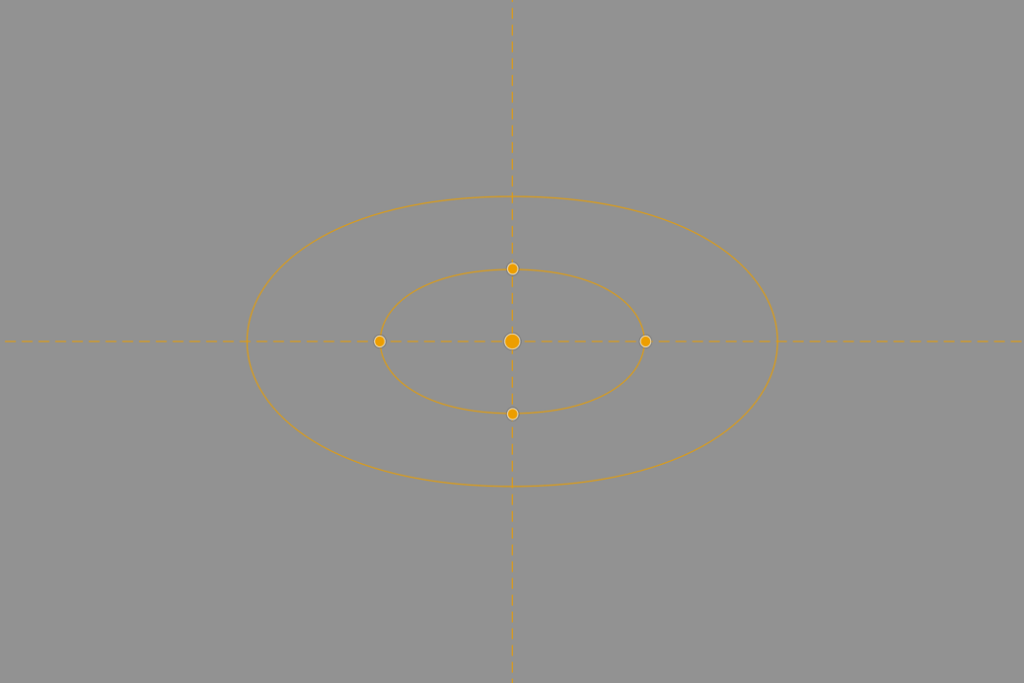
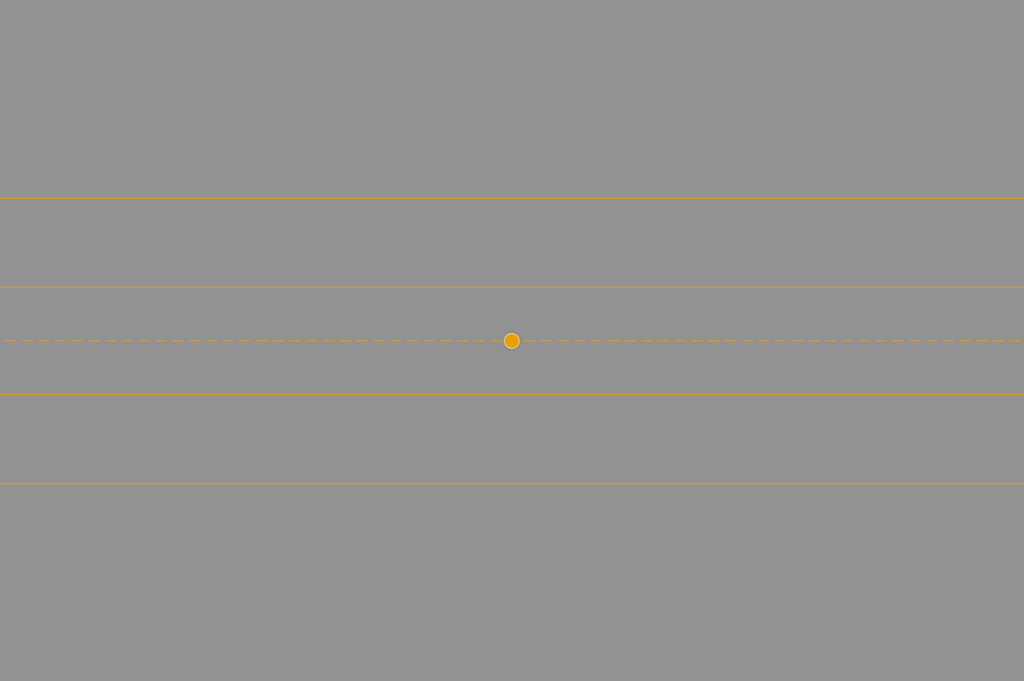
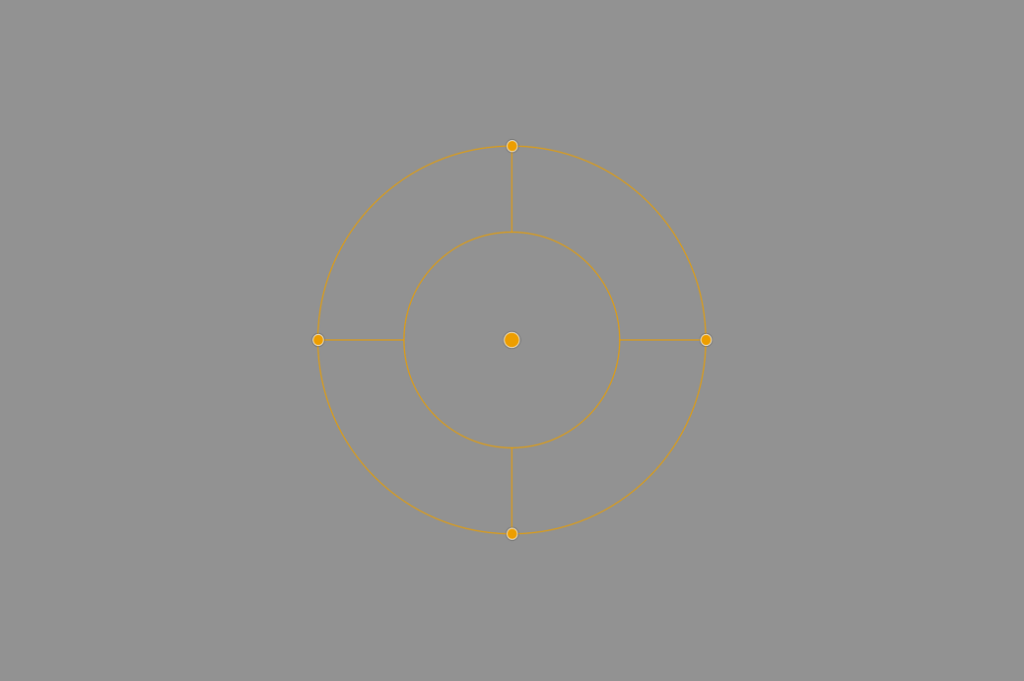
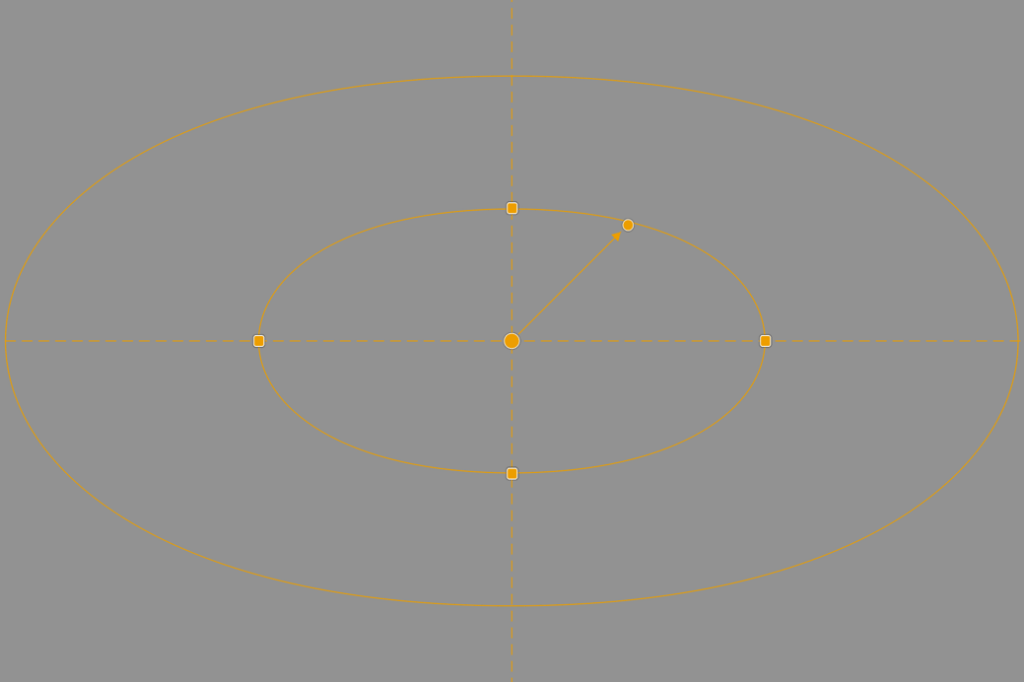


Although these embedded tools can vary in form, functional, and style, their basic operation remains more or less the same:
- A central point to locate and move the tool.
- A circular or rectangular shape.
- Handles to adjust the size and/or distribution of elements and/or their angle.
- Handles to adjust the diffusion of the effect.
- Vector handles to specify the direction of the effect.
Local adjustments
The local adjustments are available with the following filters:
- Basic Adjustments.
- Light leaks.
- Dirt and scratches
- Photographic Plate.
This way, you can apply different effects on different parts of the image, adjust their intensity, or even combine them. The associated sliders and settings are available next to each local adjustment tool over the image, and in the sections in the right panel. If you move a loval adjustment slider, the slider in the right panel will also move and vice versa.
In addition to common black-handled settings for size, Lm (Luminance), Chr (Chrominance) and Df (Diffusion), white-handled settings are also available, as follows:
You will find a detailed description of how each effect and tool works in the Filters section.
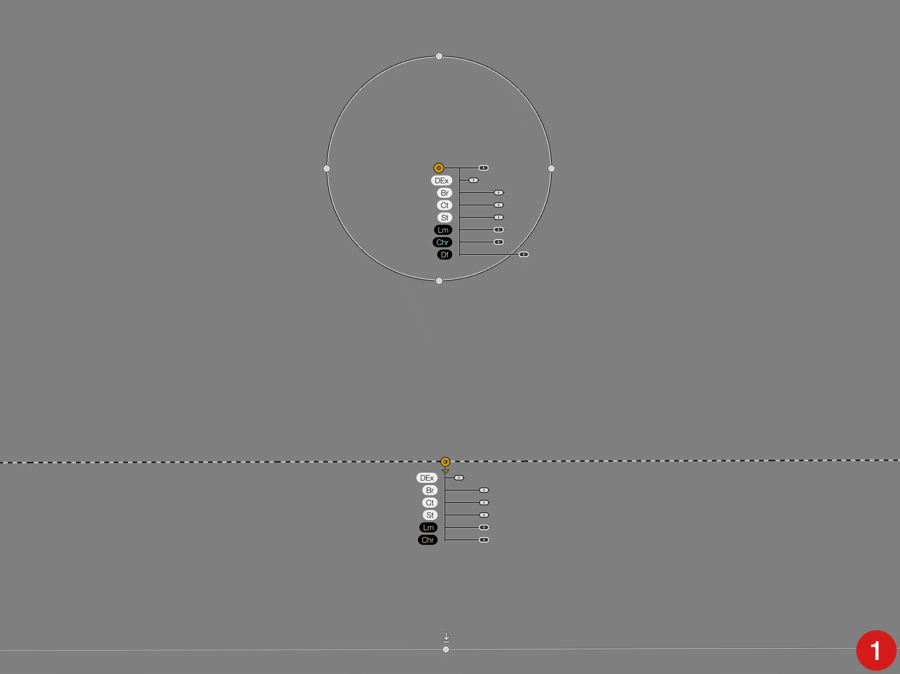
- Basic Adjustments :
- Ex Dts (Extract Details): sets detail sharpening.
- Lm (Luminosity): brightens or darkens.
- Ct (Contrast): Increases or decreases contrast.
- St (Saturation): increases or decreases the vivacity of the colors.
- Light Leaks, Dust & Scratches, and Photo Plate:
- Texture Strength*: Adjusts the effect selected.
*The strength slider for the texture applies to the active local adjusment, while the strength slider in the palette, applies the effect to the whole image.