

Crop tool
DxO FilmPack’s Crop tool lets you freely adjust the aspect ratio and the framing of your final image.
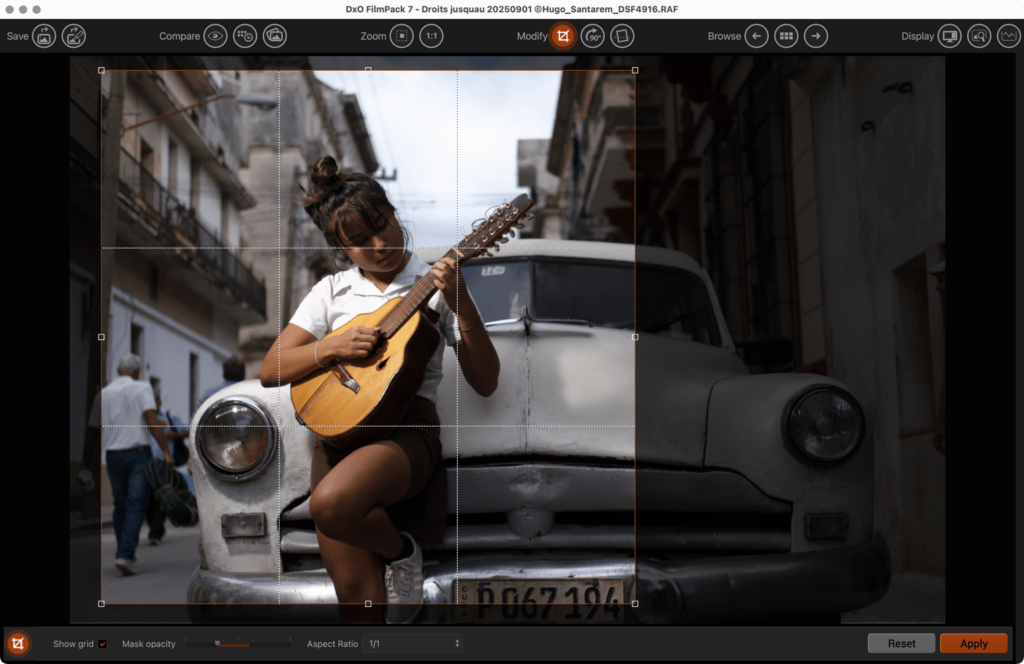
- After opening your image in DxO FilmPack, go to the Upper toolbar and click on the Crop button. An adjustable grid will be superimposed on your image.
- Adjust the crop dimensions by grabbing the resizing handles in the corners and on the sides of the crop frame. You can also move the entire crop frame itself so as to adjust it to the desired composition of your image.
- To apply the crop, click on the Apply button in the toolbar underneath the image display window. You can reset your adjustments by clicking on the Reset button.
- Save your changes by selecting File > Save As (or by clicking on the Save button if you are using DxO FilmPack as a plugin).
The Show grid checkbox in the toolbar underneath the image display window lets you hide or superimpose the composition grid on your image. This grid is divided into thirds (both horizontally and vertically) to let you easily apply the “rule of thirds” to your final image composition.
Lower toolbar
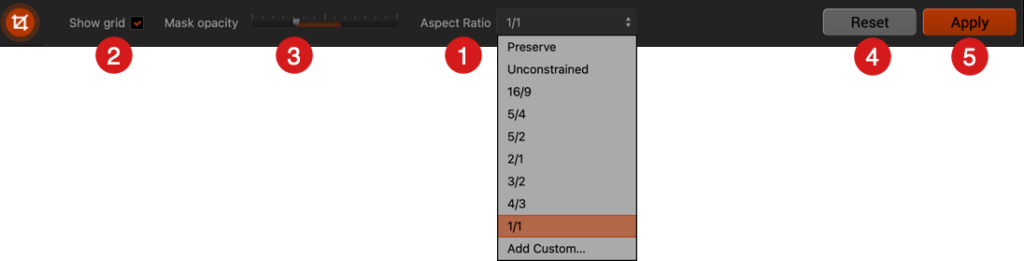
The lower toolbar appears underneath the image when you activate the crop tool, and consists of the following elements:
- Aspect Ratio: This drop-down menu lets you choose from among a certain number of predefined height/width ratios, customized ratios, or the original image proportions (Preserve).
- Show Grid: The checkbox lets you show or display the composition grid superimposed on your image. This grid is divided into thirds, allowing you to apply the “rule of thirds” when composing your final image.
- Mask Opacity: The slider lets you brighten or darken the parts of the image that are outside the crop zone.
- Reset: Returns the image to its original uncropped state.
- Apply: Applies the chosen crop to the image. So long as you have not saved the image, you can reset or adjust the crop.
Rotate right tool
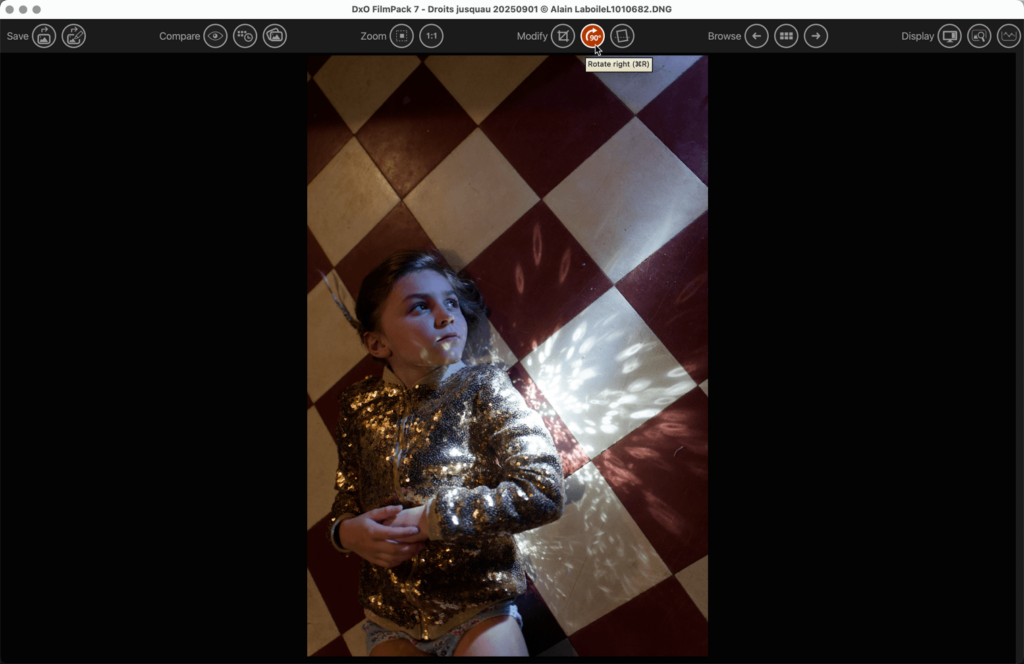
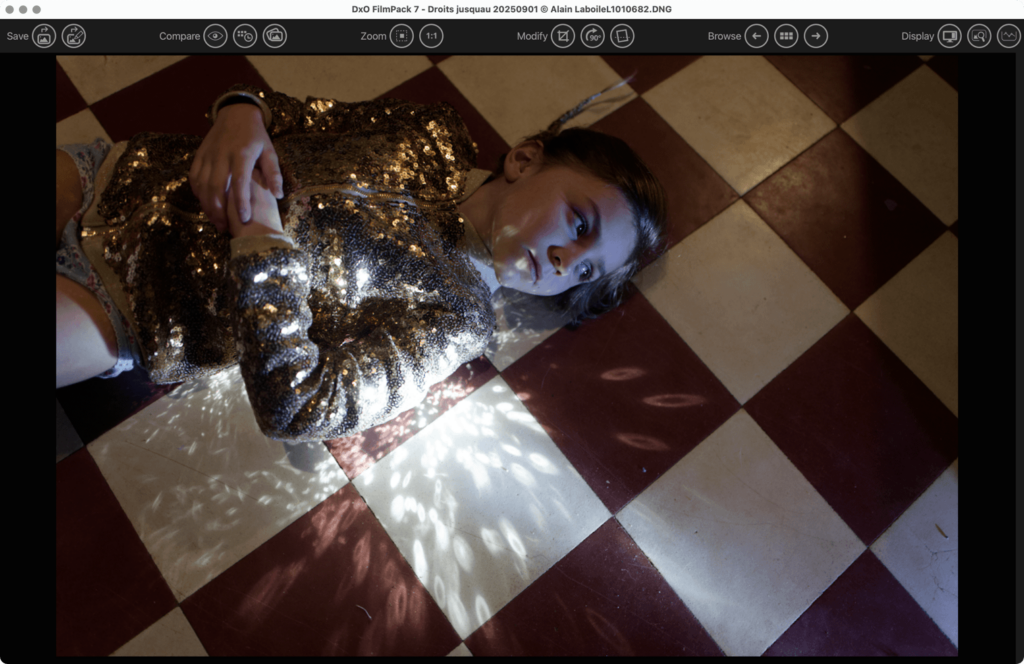
Click the Rotate button to rotate the image to the right in 90° increments until it returns to the unrotated image.
Horizon tool
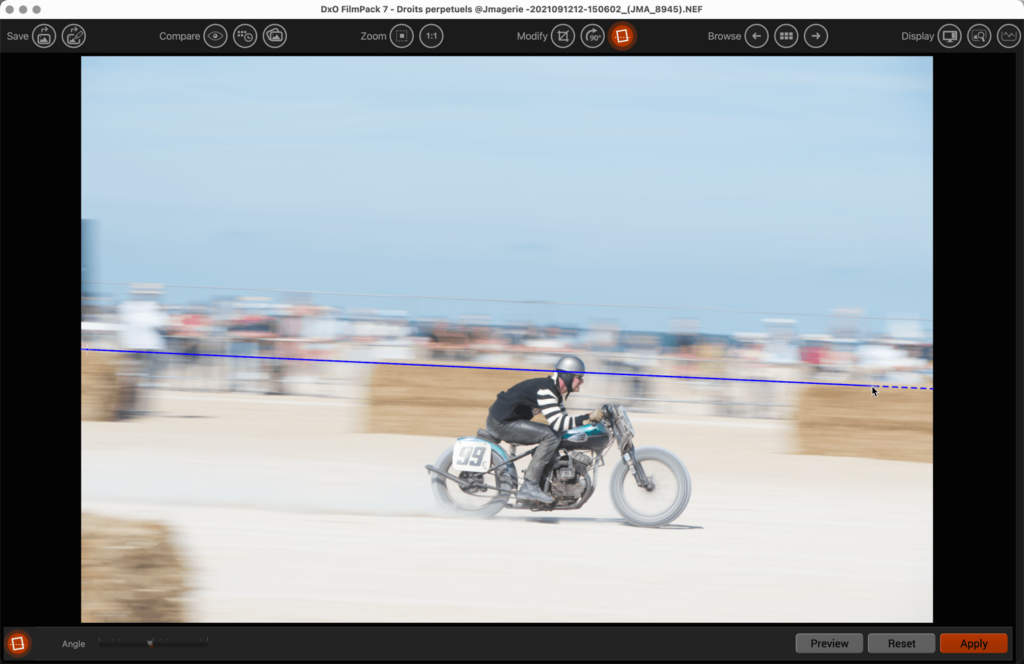
The Horizon tool in DxO FilmPack allows you to straighten tilted images.
- After opening your image in DxO FilmPack, go to the toolbar and click on the Horizon button. A blue line will appear over the image. 2. To place the blue line as you wish, click on a horizontal or vertical reference, for example the horizon line, and then draw it with the
mouse. You can refine it by grabbing the dots at each end. - Release the mouse and the image will be straightened.
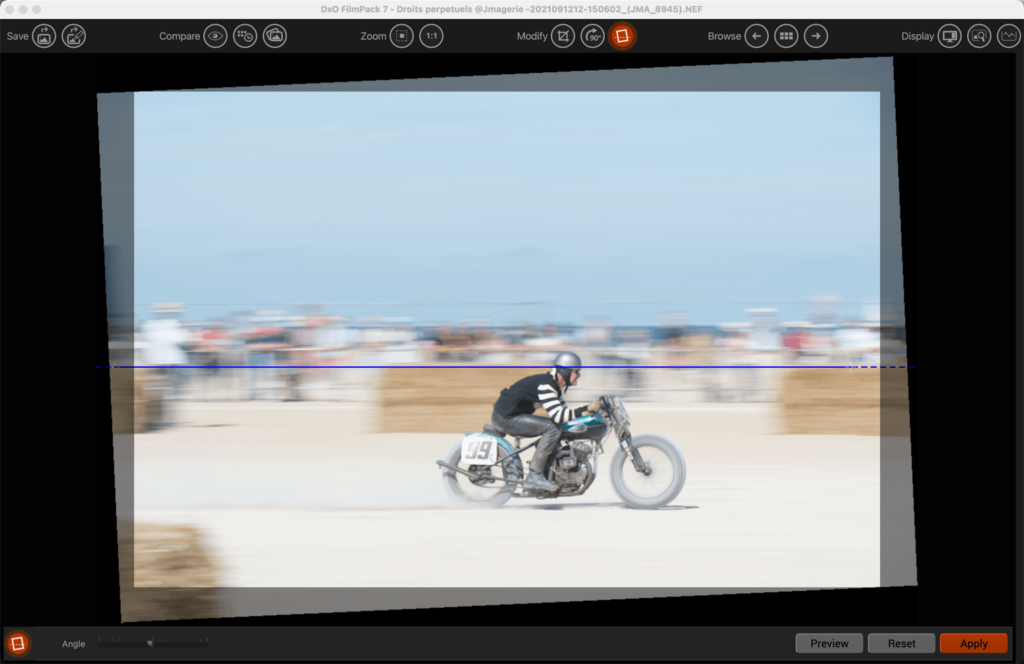
- To apply the straightening to the image, click the Apply button on the bottom toolbar. Straightening the horizon causes the image to be cropped (the cropped portions are marked with a transparent gray mask). You can reset your settings by clicking the Reset button.
- Save your changes by clicking File > Save As (or click the Save button if you are using DxO FilmPack as a plug-in).
Angle tool
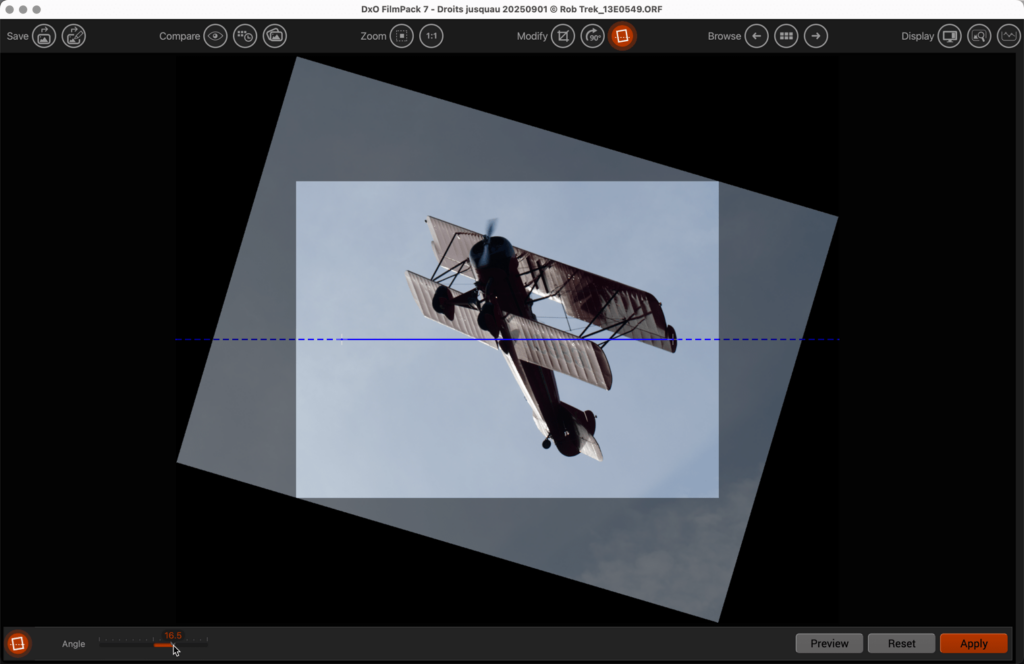
The lower toolbar appears below the image as soon as the Horizon tool is activated. In addition to the Preview, Reset and Apply buttons, it offers
the Angle slider, which allows you to straighten the image without having to use a reference line.