

About printing
The standalone and plugin versions of DxO FilmPack let you print your photos directly. There are three ways to open the print window:
- Menu button > Save As > Print (PC).
- File menu > Print (Mac).
- Keyboard shortcut: Ctrl+P (PC) or Cmd+P (Mac).
The Print preview window
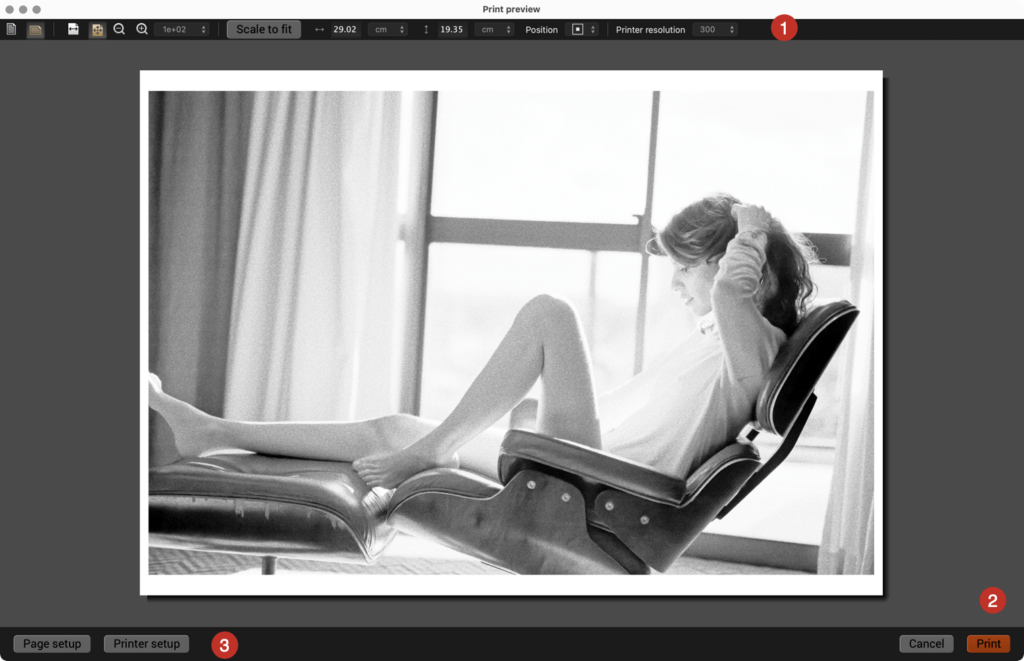
The Print preview window can be resized by grabbing and dragging one of its corners. It is composed of three parts:
- Upper toolbar: Settings for orientation, size, position, and resolution.
- Image display zone.
- Lower toolbar: Settings for page setup, access to printer settings, print and cancel buttons.
You need to deal with the printer settings first before you handle the settings for page setup and printing.
Upper toolbar

The upper toolbar includes the following tools and functions:
- Portrait/Landscape: Lets you change the orientation of the page without having to go through the print driver settings.
- Adjust the width / Adjust the page: Lets you adjust the display of the page to maximize the width. Lets you adapt the display of the page depending on the size of the size of the Print preview window.
- Zoom in / Zoom out: Lets you increase or reduce the size of the page on your screen.
- Zoom menu: Lets you choose a predefined zoom value, or manually enter a zoom value (ranging from 12.5% to 200%).
- Scale to fit: This button lets you determine the maximum printing size for the document, with the dimensions displayed in the Height and Width fields.
- Height / Width: Indicates the dimensions of the page to be printed. You can manually change the values by clicking on one of the fields and entering a new value (the value for the other field will be automatically calculated so as to preserve the image proportions).
- Size units: Lets you choose from among inches, centimeters, and millimeters as the unit of measure for size.
- Position: Lets you reposition the photo on the page by choosing one of 9 listed positions available.
- Printer resolution: You can choose from among three available resolutions: 180, 360, and 720 dpi.
Be careful about your choice of resolution: 720 dpi requires a computer that is sufficiently powerful for handling the resampling. For most printers, 360 dpi will suffice for producing good-quality prints.
Lower toolbar

The lower toolbar handles the following functions (from left to right):
- Page setup: Opens the system dialog box that contains such basic settings as paper size, orientation, and scale.
- Printer setup: Opens the print driver so you can choose the printer and printer settings. This is where you choose your paper and the color management mode.
- Cancel: Closes the Print preview window.
- Print: Starts the printing of your photo.
Print (PC)
- Launch the print module (Menu button > Save As > Print).
- Click on Printer setup in the lower toolbar.
- In the dialog box, select the printer, and the paper format and orientation.
- If the print driver allows it, also select the color management mode (ICM or color management by the printer).
- Back in the Print preview window, click on Print.
Print (Mac)
- Launch the print module (File menu > Print).
- Click on Printer setup in the lower toolbar.
- In the dialog box, select the printer, and the paper format and orientation.
- If the print driver allows it, also select the color management mode, either Color Sync or color management by the printer.
- Back in the Print preview window, click on Print.