Working with Batch Queuing
DxO PureRAW has a queuing system that lets you efficiently manage image processing by batches. This function is primarily aimed at photographers with a demandingly high throughput. The queuing system lets you add, manage and remove batches of images.
Add to Queue
To add a batch of images to the queue:
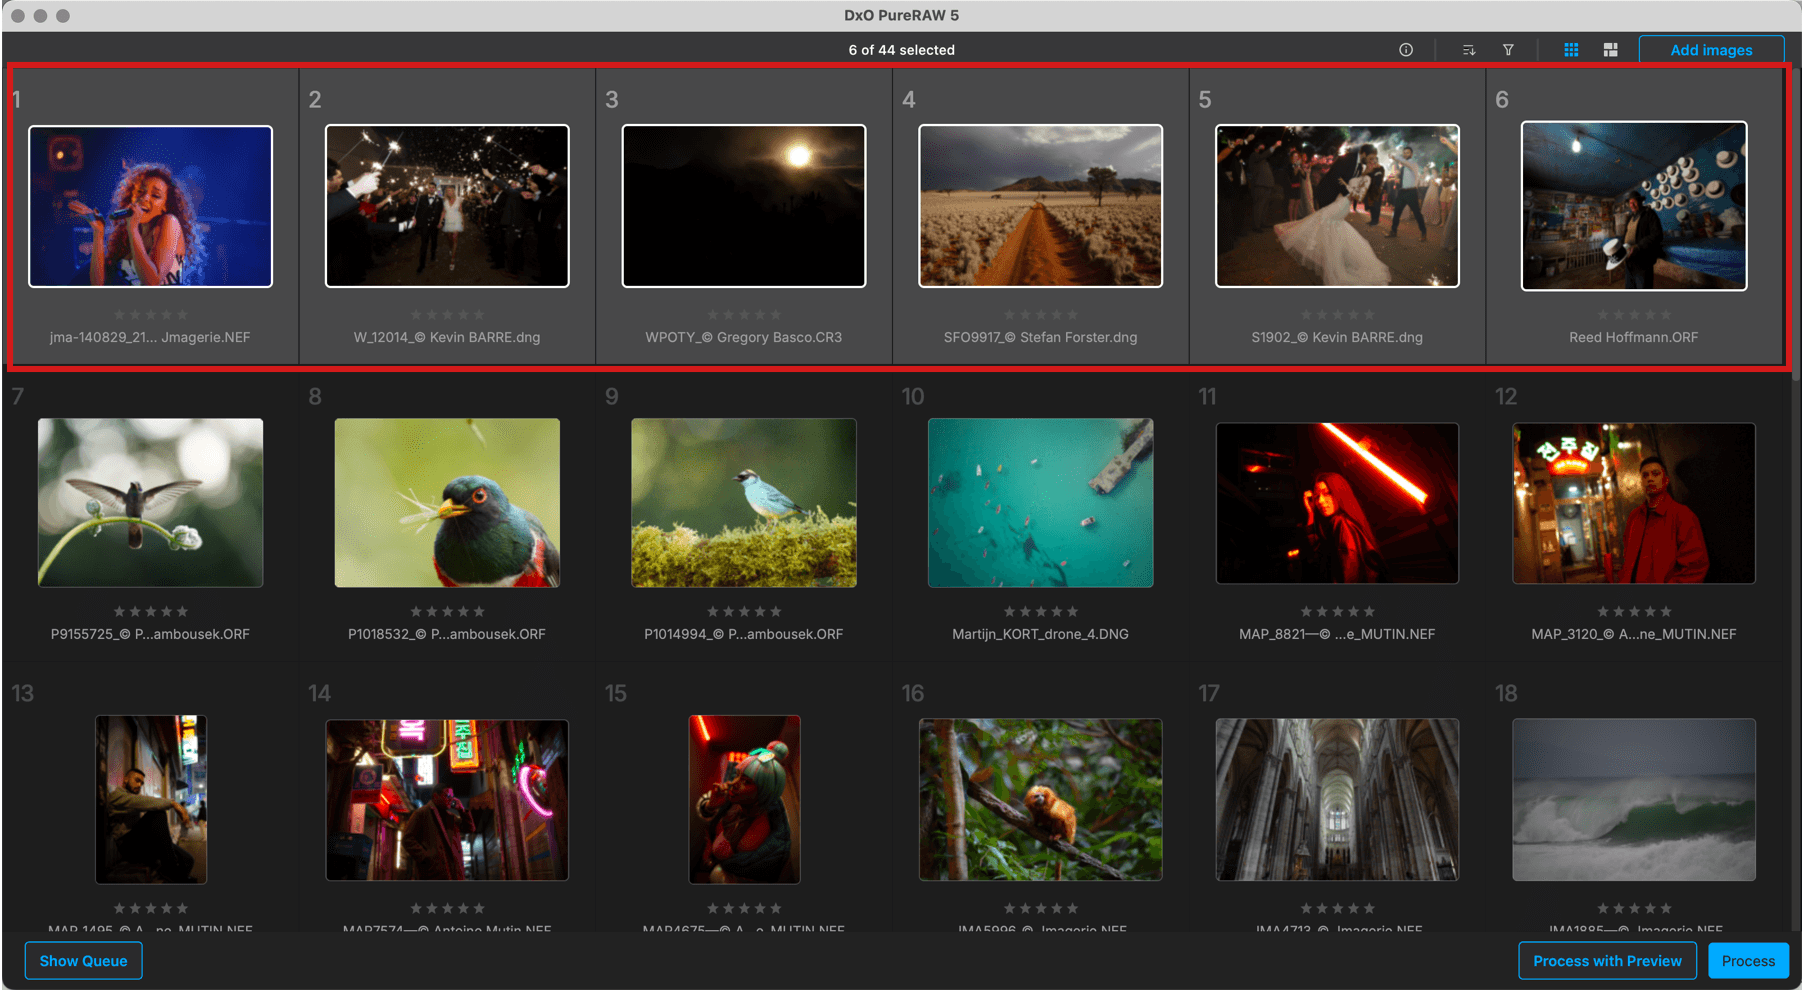
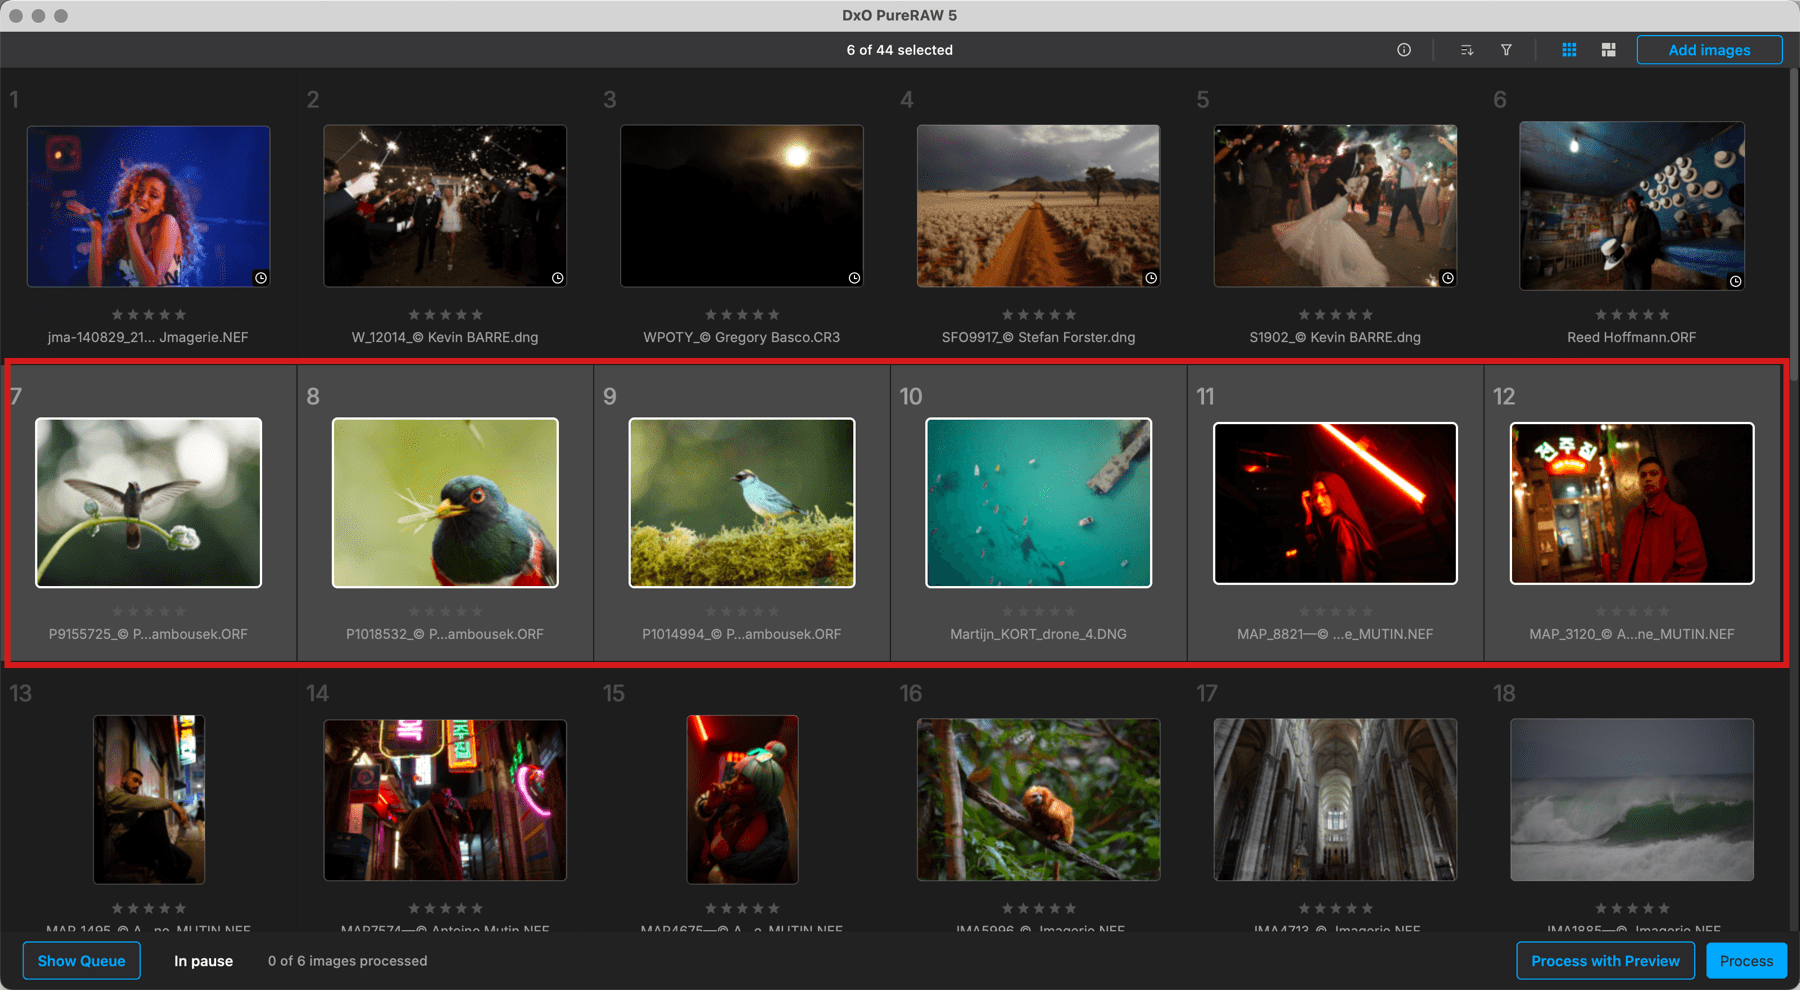
- Add images to the Lightbox.
- In the bottom right-hand corner, click on the Process or the Process with Preview button, depending on your workflow.
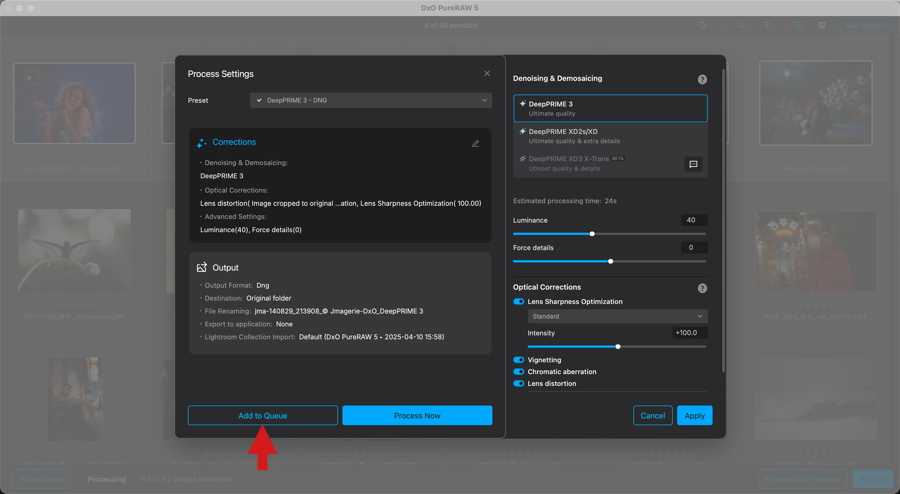
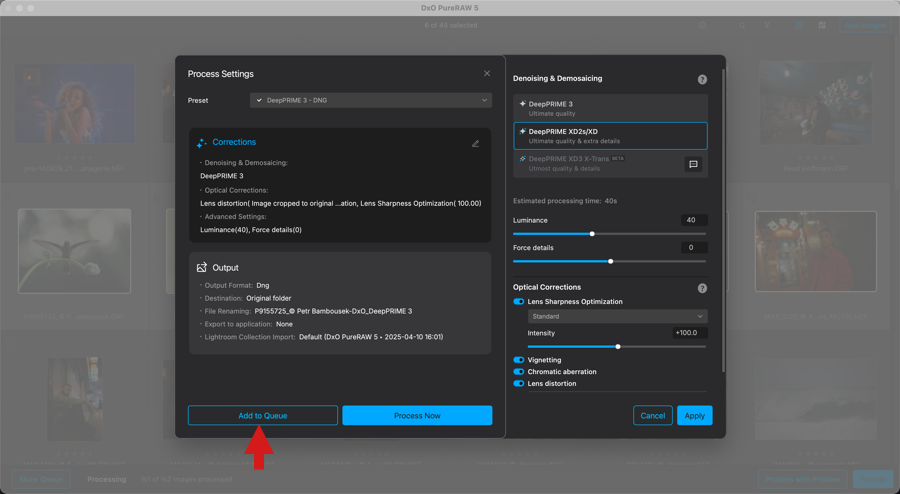
- Depending on your choice in step 2, the image processing options dialog or the Preview window is displayed. Choose your processing options.
- Click Add to Queue.
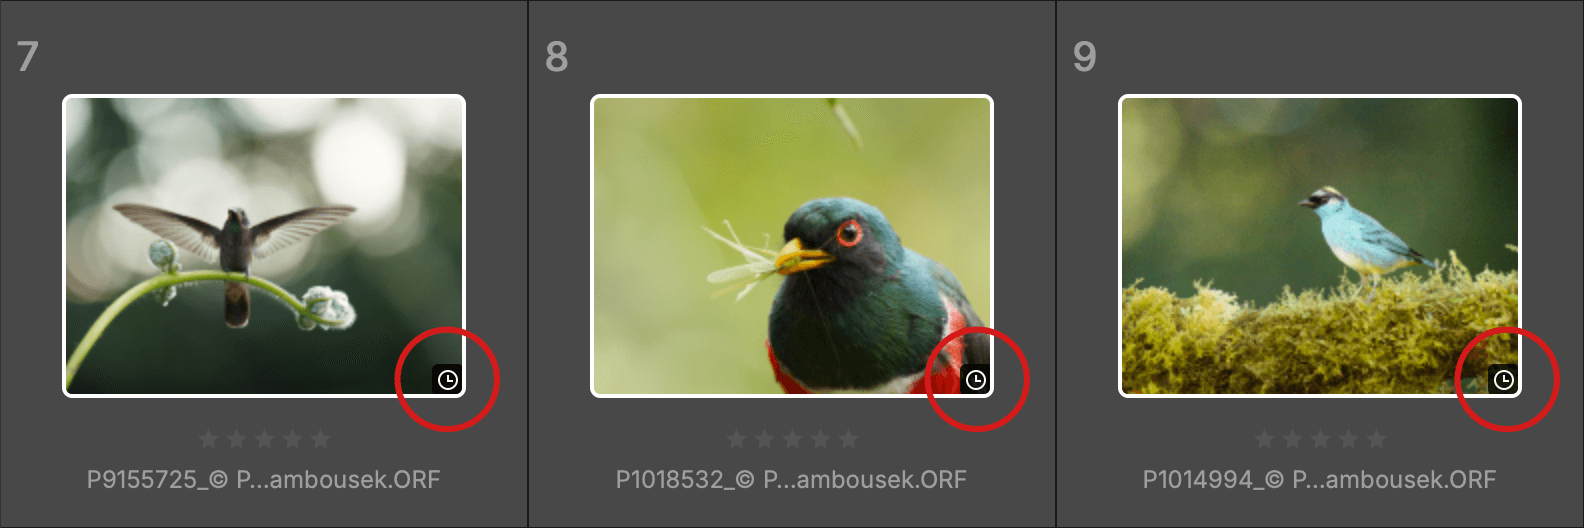
- DxO PureRAW switches back to the Lightbox with “In pause” displayed at the bottom of the screen. Queued thumbnails are indicated by a Waiting for processing icon, but processing is paused so you can add another batch of images. You can have a look to the queue by clicking the Show Queue button, in the bottom left corner.
- To add other photos, go back to the Lightbox, by clicking the button in the upper left corner.
- Repeat steps 2 to 6 for each batch of images you want to process, and so on.
Important
- Images with the same options and settings will be added to the same batch.
- If you change your options and settings for other images, a 2nd batch will be created.
- Images can belong to multiple batches if you re-select them in the Lightbox, you can re-queue them with different processing options. This is useful if you want to obtain images in different formats and/or with different processing settings at the same time.
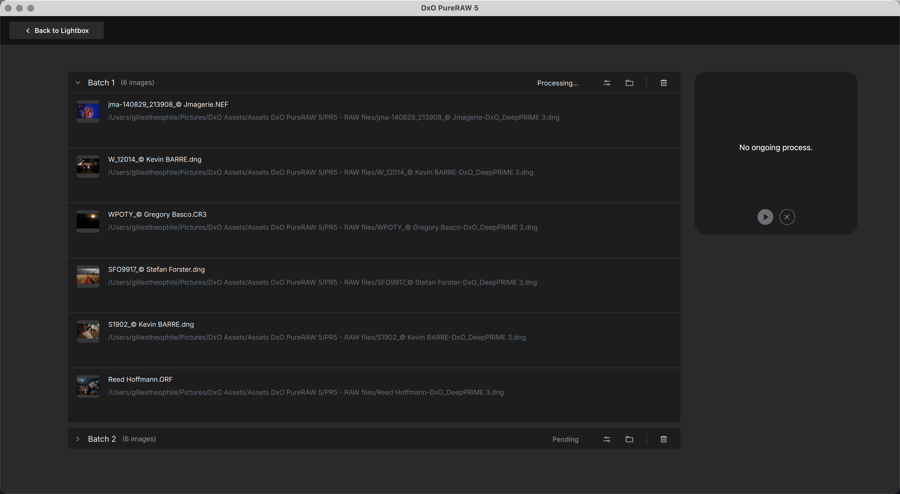
Batch list
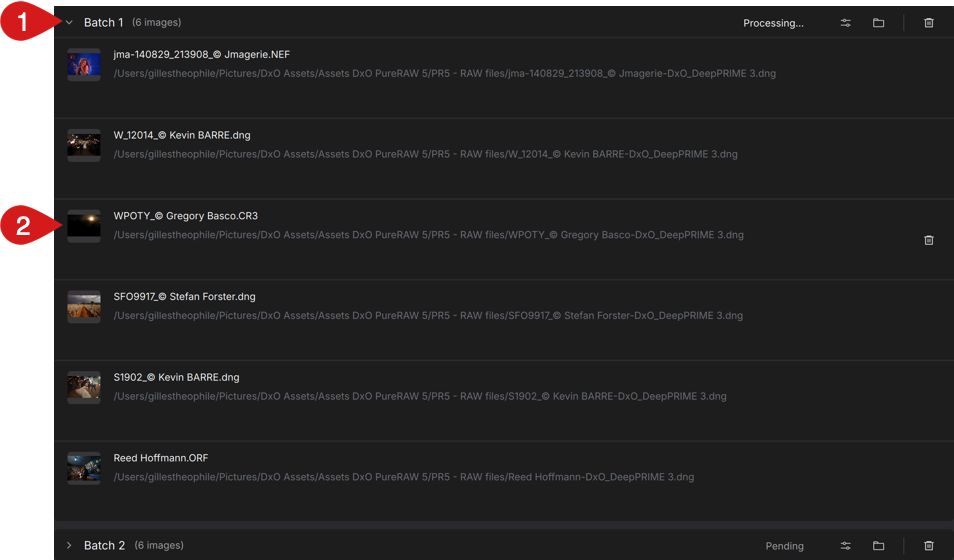

- The bar on top of each batch consists of (from left to right):
- A chevron to collapse/open the batch.
- The batch number (Batch 1, Batch 2, etc.).
- The number of images in the batch.
- The processing status indication.
- The processing settings button, which shows by hovering or clicking, in a floating window, a recap of all the settings chosen for this batch (processing, output format, destination, export).
- A folder icon, which opens the destination folder in a system window.
- A trash icon, which lets you cancel the batch. A dialog box will prompt you to confirm or deny.
- The list of images in each batch includes the following items (from left to right):
- A thumbnail, unchecked (and checked when processed).
- The path to the output folder and the output name, text greyed out (white when processed).
- A trash icon when each line is hovered by the mouse. The trash lets you delete individual images from the batch (A dialog box will prompt you to confirm or deny). You can also select the image and remove it with the Delete key.
Queue reordering
You can reorder the images in the batch by simply dragging-and-dropping them. You can also move an image, or group of images, from one batch to another, but you cannot move or swap whole batches.
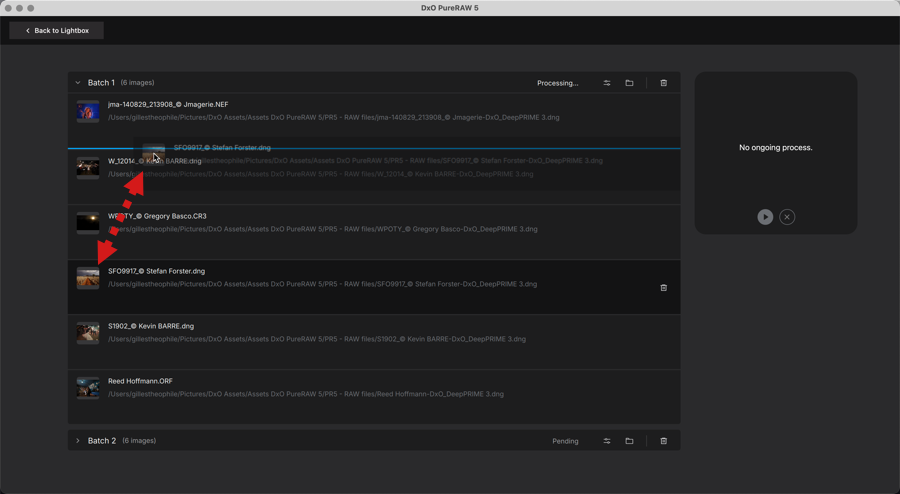
To select multiple images within a batch, hold down Ctrl (PC)/Cmd (Mac). To select a continuous series of images, click on the first and then hold down the Shift key and click on the last one.
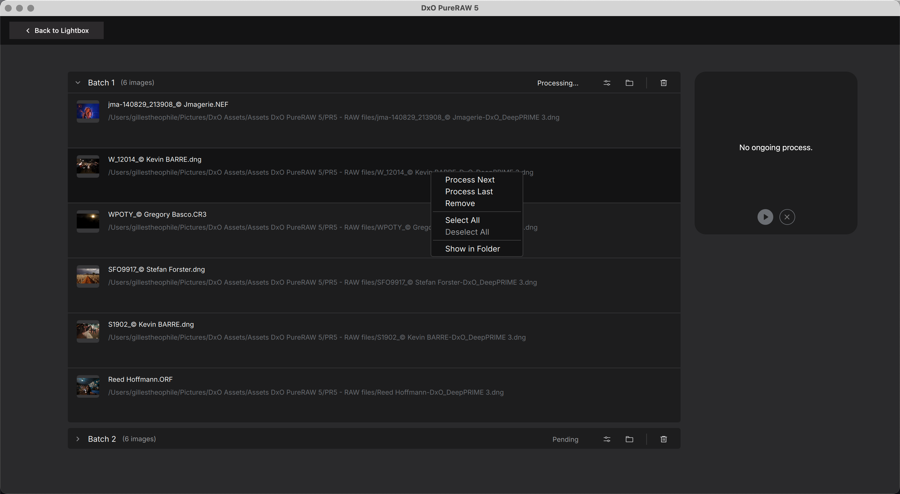
Right-clicking on an image or image selection opens a context menu that lets you do the following:
- Process next.
- Process Last (end of queue).
- Remove from Queue.
- Select all: selects all the images in the queue.
- Deselect all: unselects all images in the queue.
- Show in Folder: Displays the selected image location in the system file explorer.
Start the processing queue
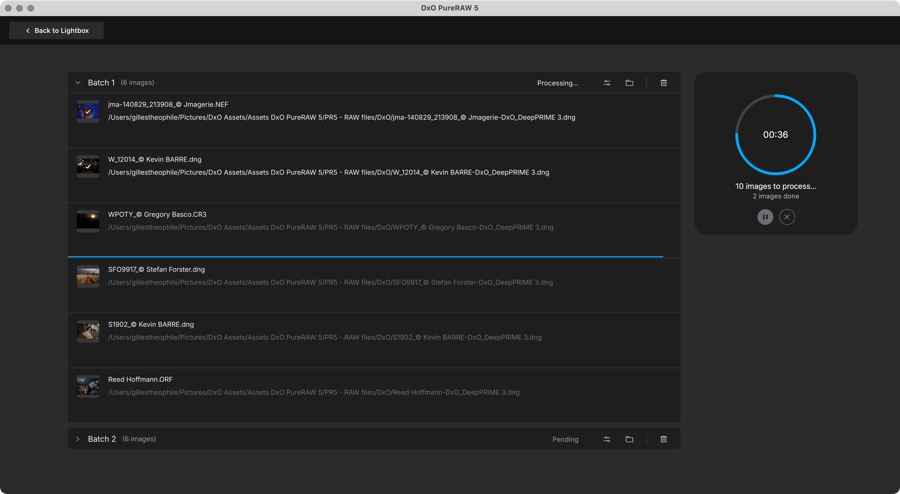
Image batch processing starts when you click the play button in the process box, on the right side of the batch list. The process preview is shown as follows:
- The progress circle, the time and the number of images processed against the total number of images shown in the widget.
- A progress bar in the line of the image currently processed and the “Processing…” label.
You can keep the queue interface displayed to track progress. You can pause and restart it at any time by clicking on the pause/play button in the process box.
If you want to cancel processing, click the X button in the process box.
If you need to go back to the Lightbox, you can still track processing progress in the bottom bar, where you will see the animated “Processing…” label and the number of images processed against the total number of images. The processing can also be monitored with the Widget in the menu bar (Mac) or in the task bar (PC).
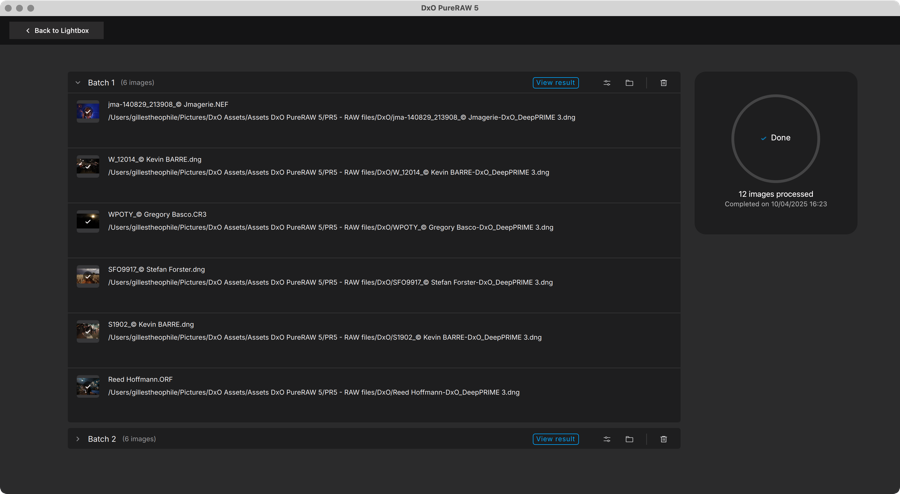
When processing is done:
- You are automatically returned to the Lightbox.
- In the Queue interface, the process box indicates “Done”, the number of images processed and the date/time of completion.
- A blue View result button is shown in each batch header. Click on it to check and compare the results in the Viewer.